Introduction
Native apps are applications that can be integrated into any automation according to your requirements. Sapper consists of various applications for different domains, such as LMS, HCM, Payroll, and E-Commerce. We always look forward to adding more apps to make your job easier with higher efficiency.
| Table of Contents |
|---|
Overview

Native apps can only run on JSON request types. You can also run it in a REST-enabled application. Therefore, when choosing a native app, you should check your application's REST support configuration. Native apps can be used in a variety of ways, i.e., Create native connections, create native actions, use community templates, and use ready-to-use templates. You can choose what you need according to your requirements.
Native Connections
Native connections allow you to quickly create a connection in just a few steps, unlike traditional creation. You need to access the Connections tab and click Create Connection. Here, you can connect by simply entering the application name, connection mode connection name, description, authentication URL, and access token code.
To know the configuration steps visit: Steps to use Native Connections
Native Action
Native actions are pre-built actions for all native applications / apps. These actions help you use automation more effectively. You can access the various actions associated with each app. There are also custom action options that allow you to create the actions you need based on your needs. Native actions help you get a simple and easy-to-use process for working with automation properly. There are also custom action options that you can create on demand based on your specific needs.
To know the configuration steps visit: Steps to use Native Action
Community Templates
In this section, you will be able to view and use the can pair with and the automation just by clicking on the application. In this section, you can find out the applications that can be integrated with the specific app. For example, If you select Jira they will be able to see the existing applications that can be integrated, i.e., Salesforce, ADP, Slack, and many more. You can view and install the automation as per your requirement.
Ready-to-use-templates
In this section, you can find out the applications that can be integrated with the specific app and the Ready-to-use templates. For example, If you select Salesforce you will be able to see the existing “Ready-to-use template” and “Usually paired with” automation associated with it. The automations can be view and download by you based on your requirements. It will be easier for you to use the automation associated with the Native Apps effectively.
Benefits of Native Apps
Steps to use Community Templates
To use the community templates configured with the Native app, click on the “Marketplace from the Sapper home page.
2. Click on the marketplace, for selecting the required application.
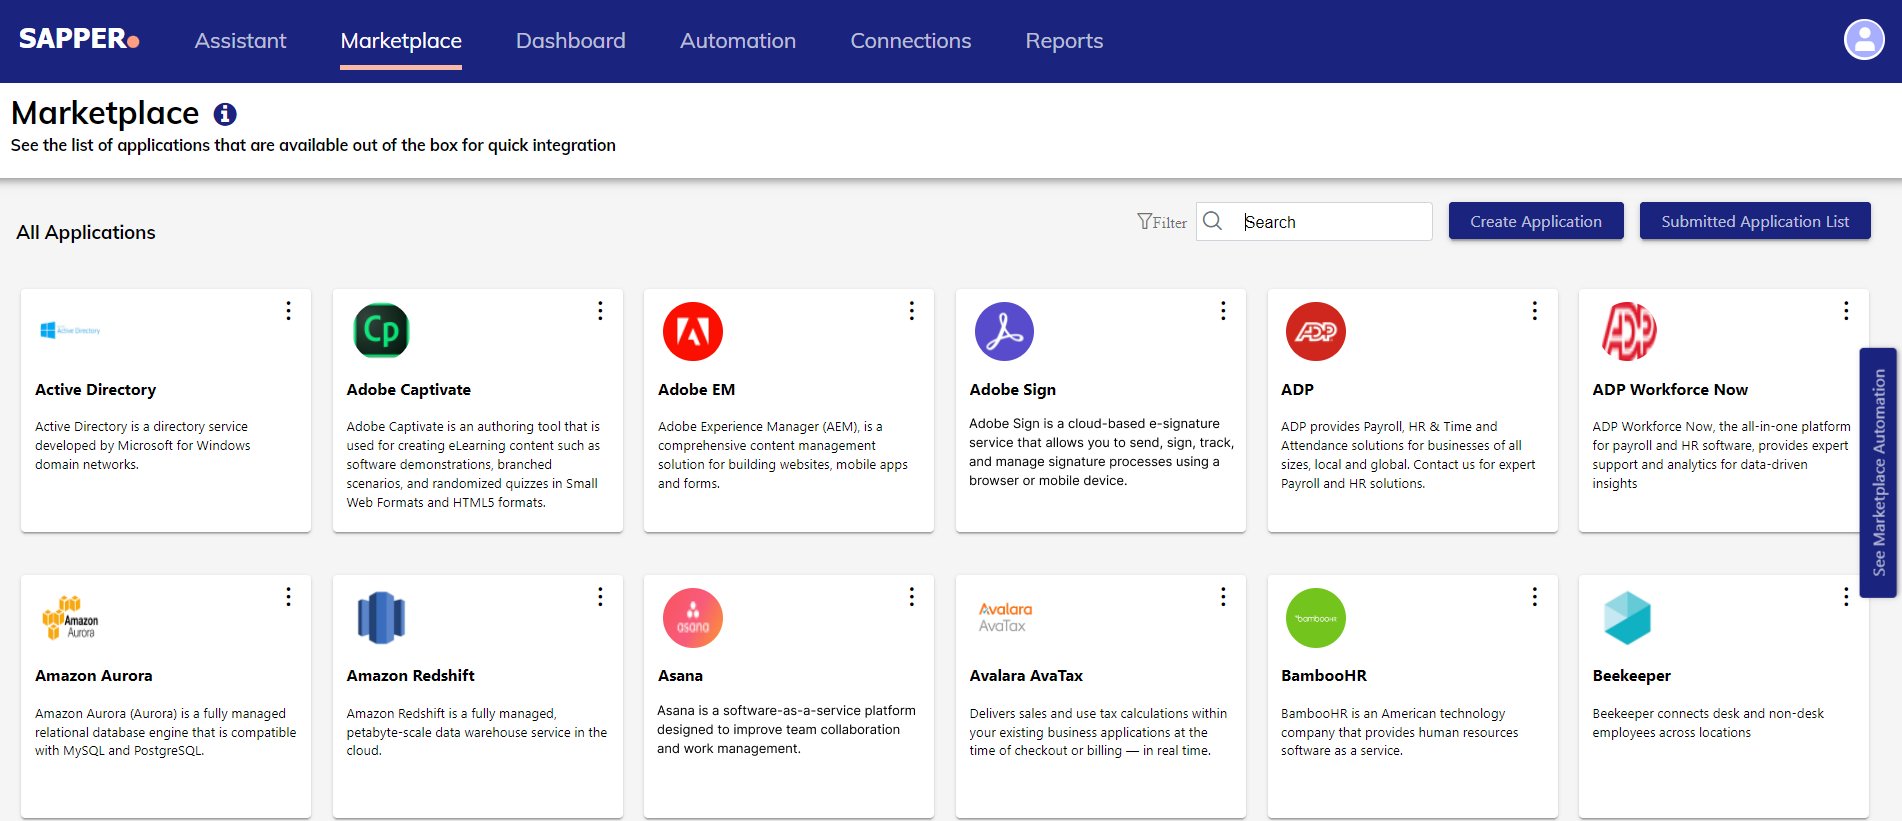
3. Select the required application from the marketplace, for example, Salesforce.
4. You can search for the required apps from the search application.
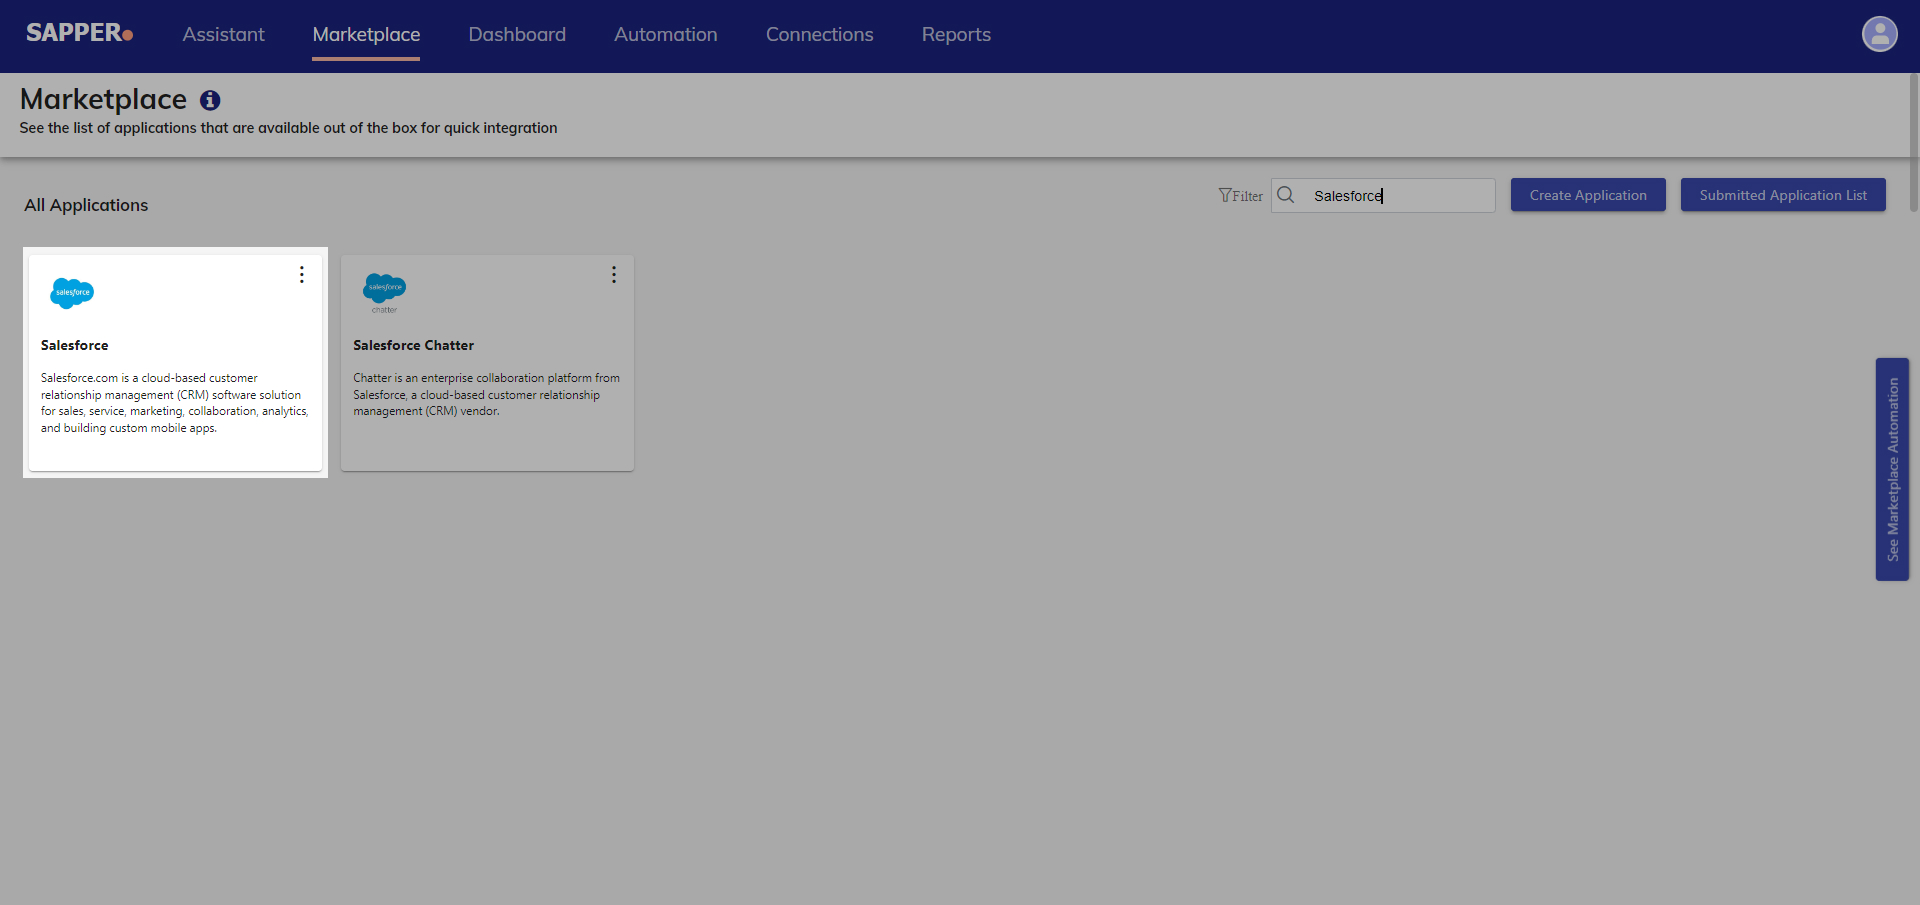
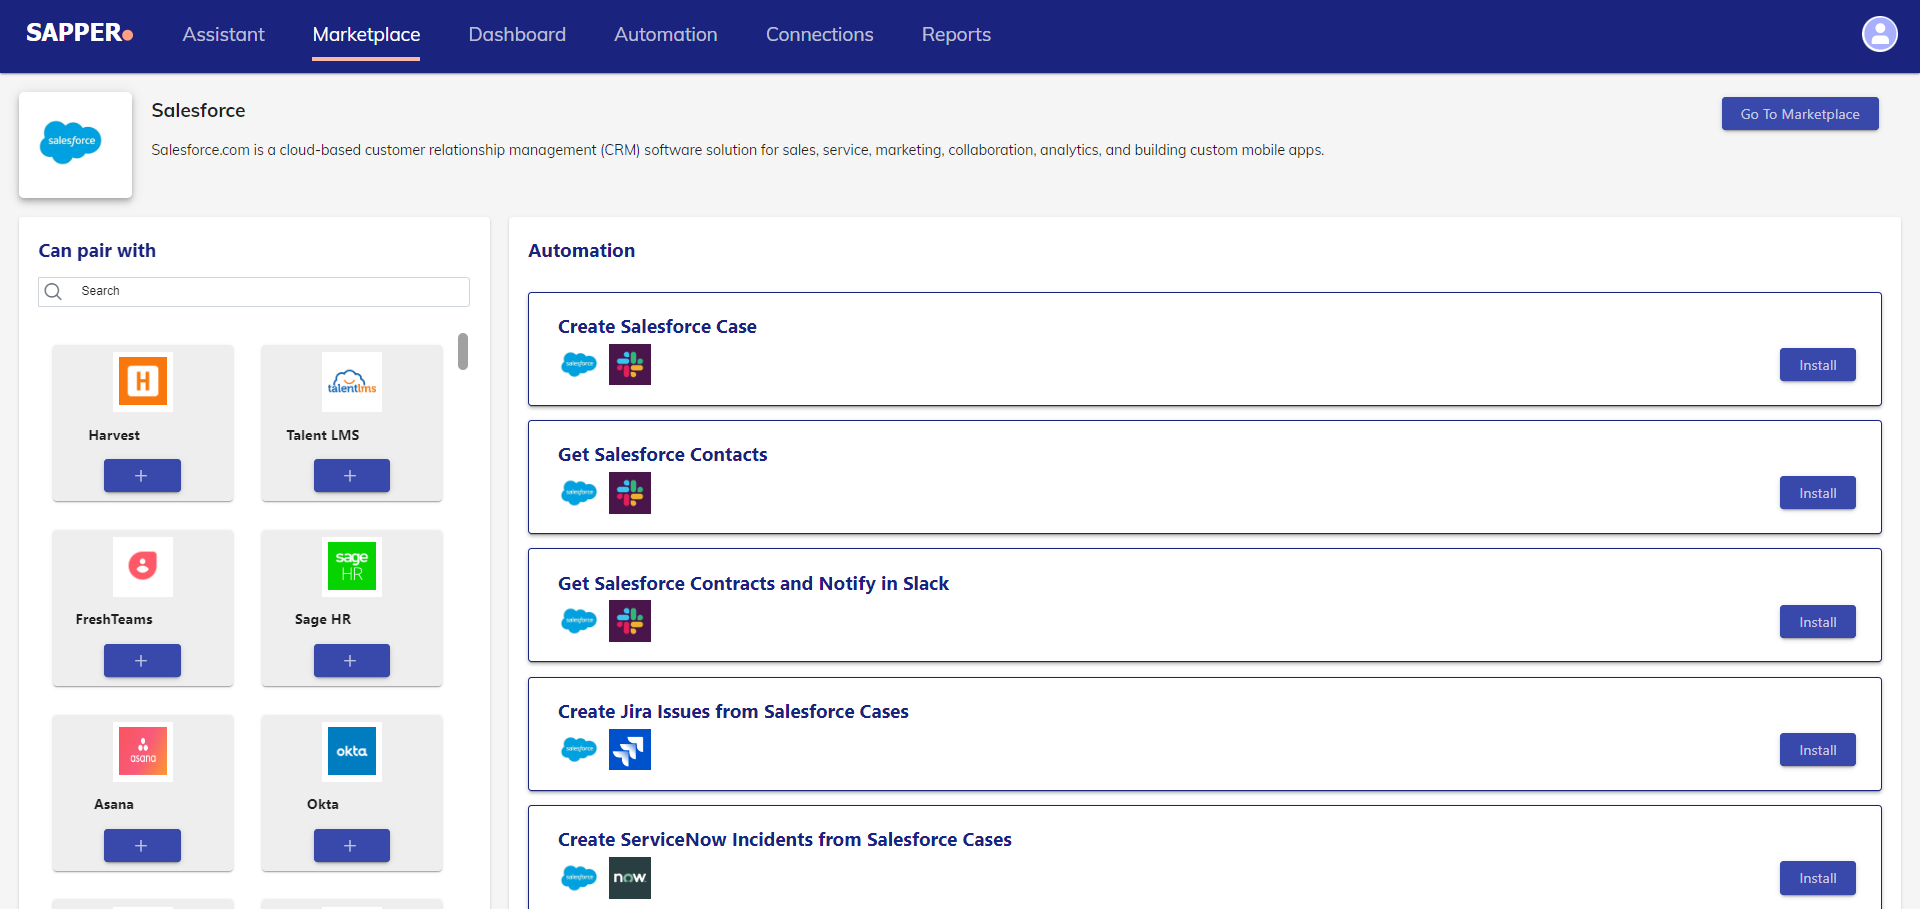
5. Once you click on the particular application i.e., “Salesforce”. You will be redirected to the community templates associated with salesforce.
6. On the right side, you can find out the existing automation.
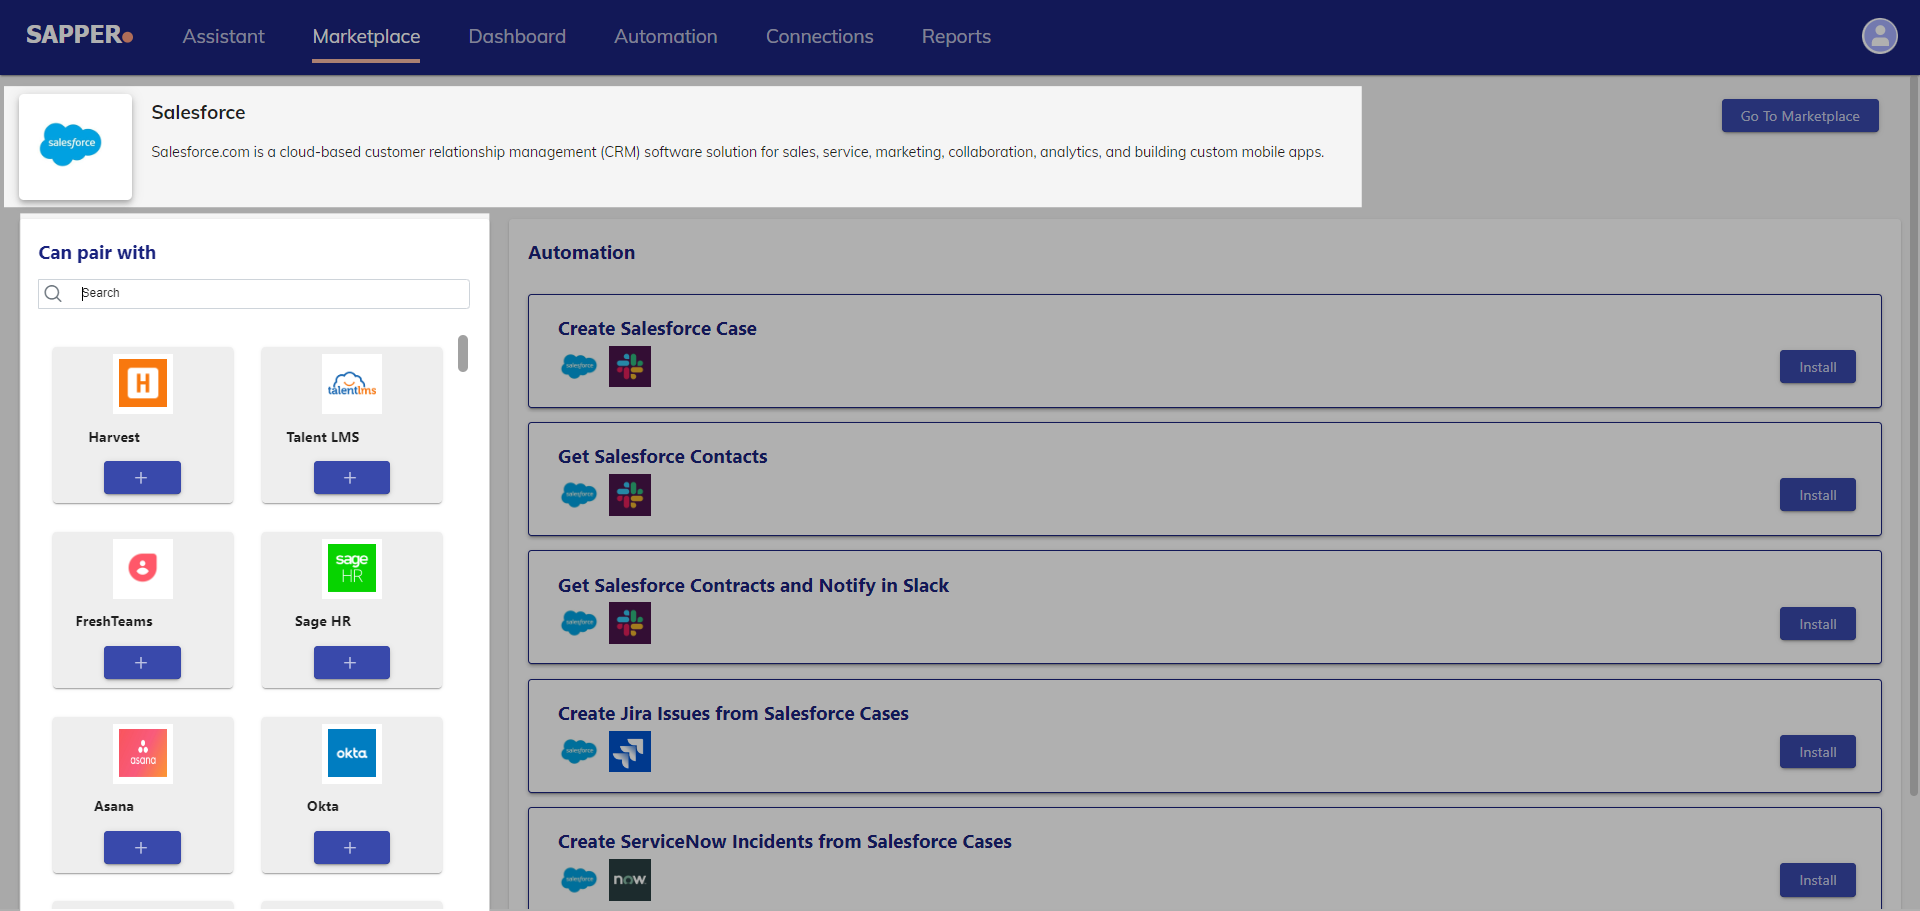
7. To find specific automation options, you need to check the can pair with the application on the left side.
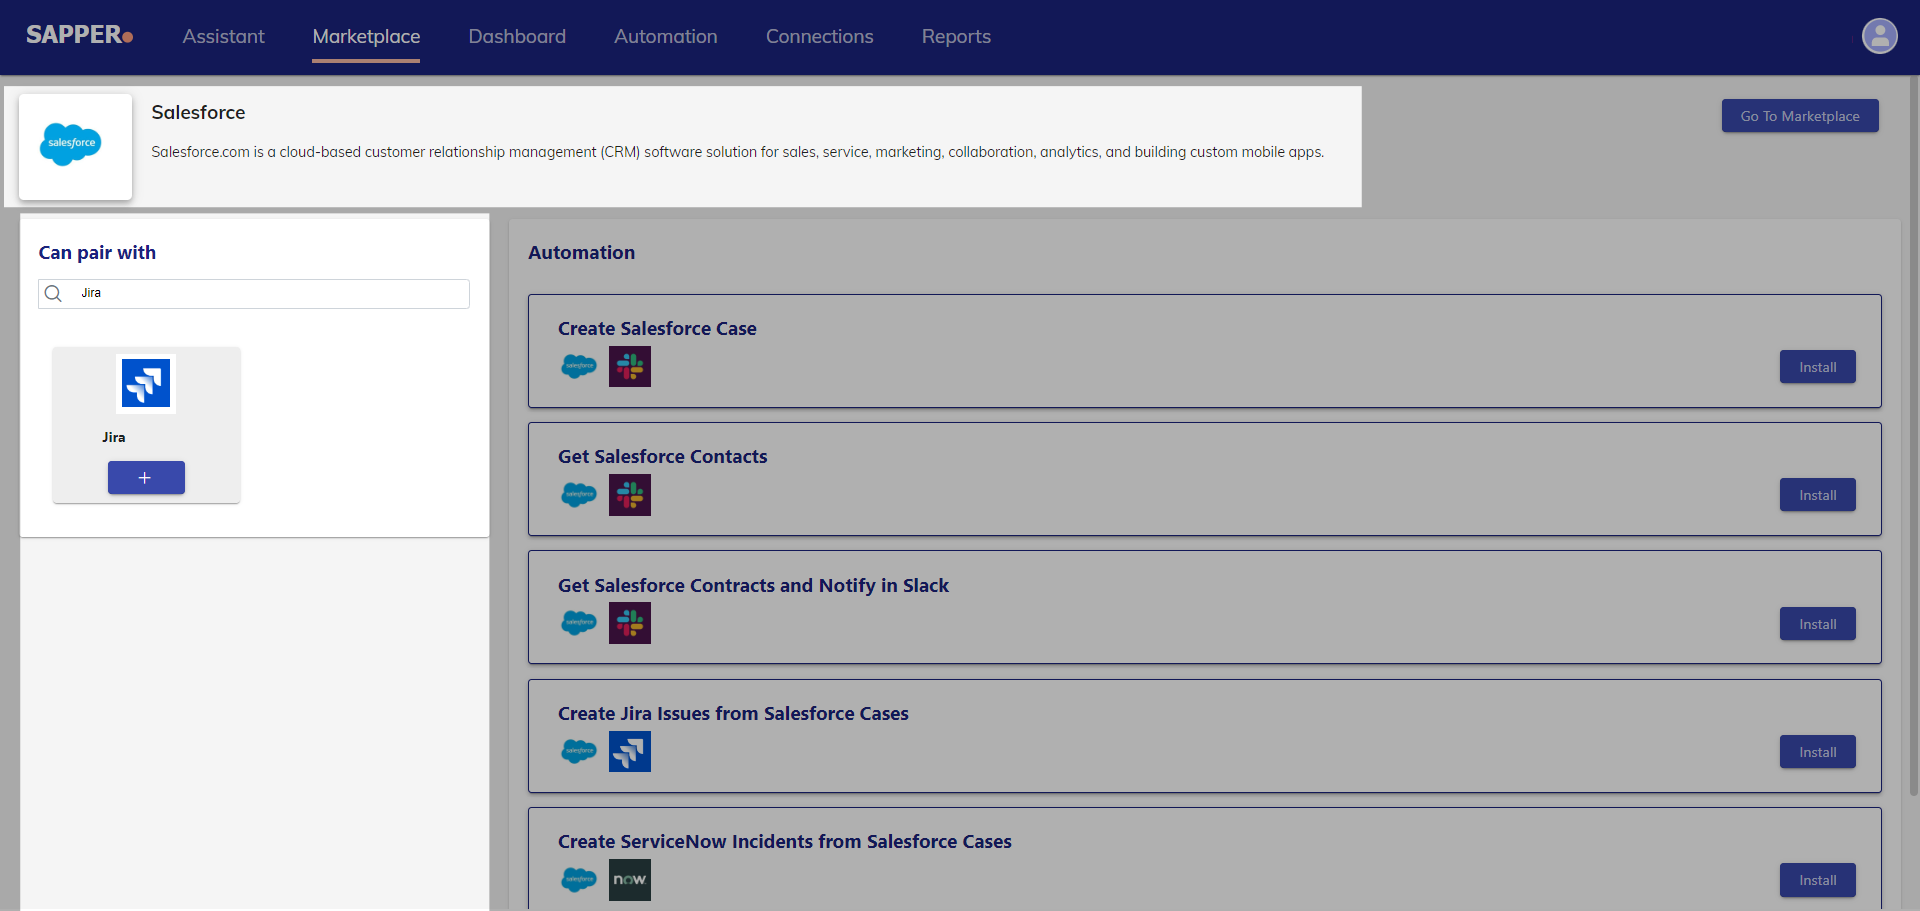
8. To identify the integration apps you need to search from the search bar. In the can pair with input, you will be able to find the desired applications that you wanted to pair with other applications.
9. To identify the integrated application with the other application, you can search for it, and then you need to add it to view the related existing automation.
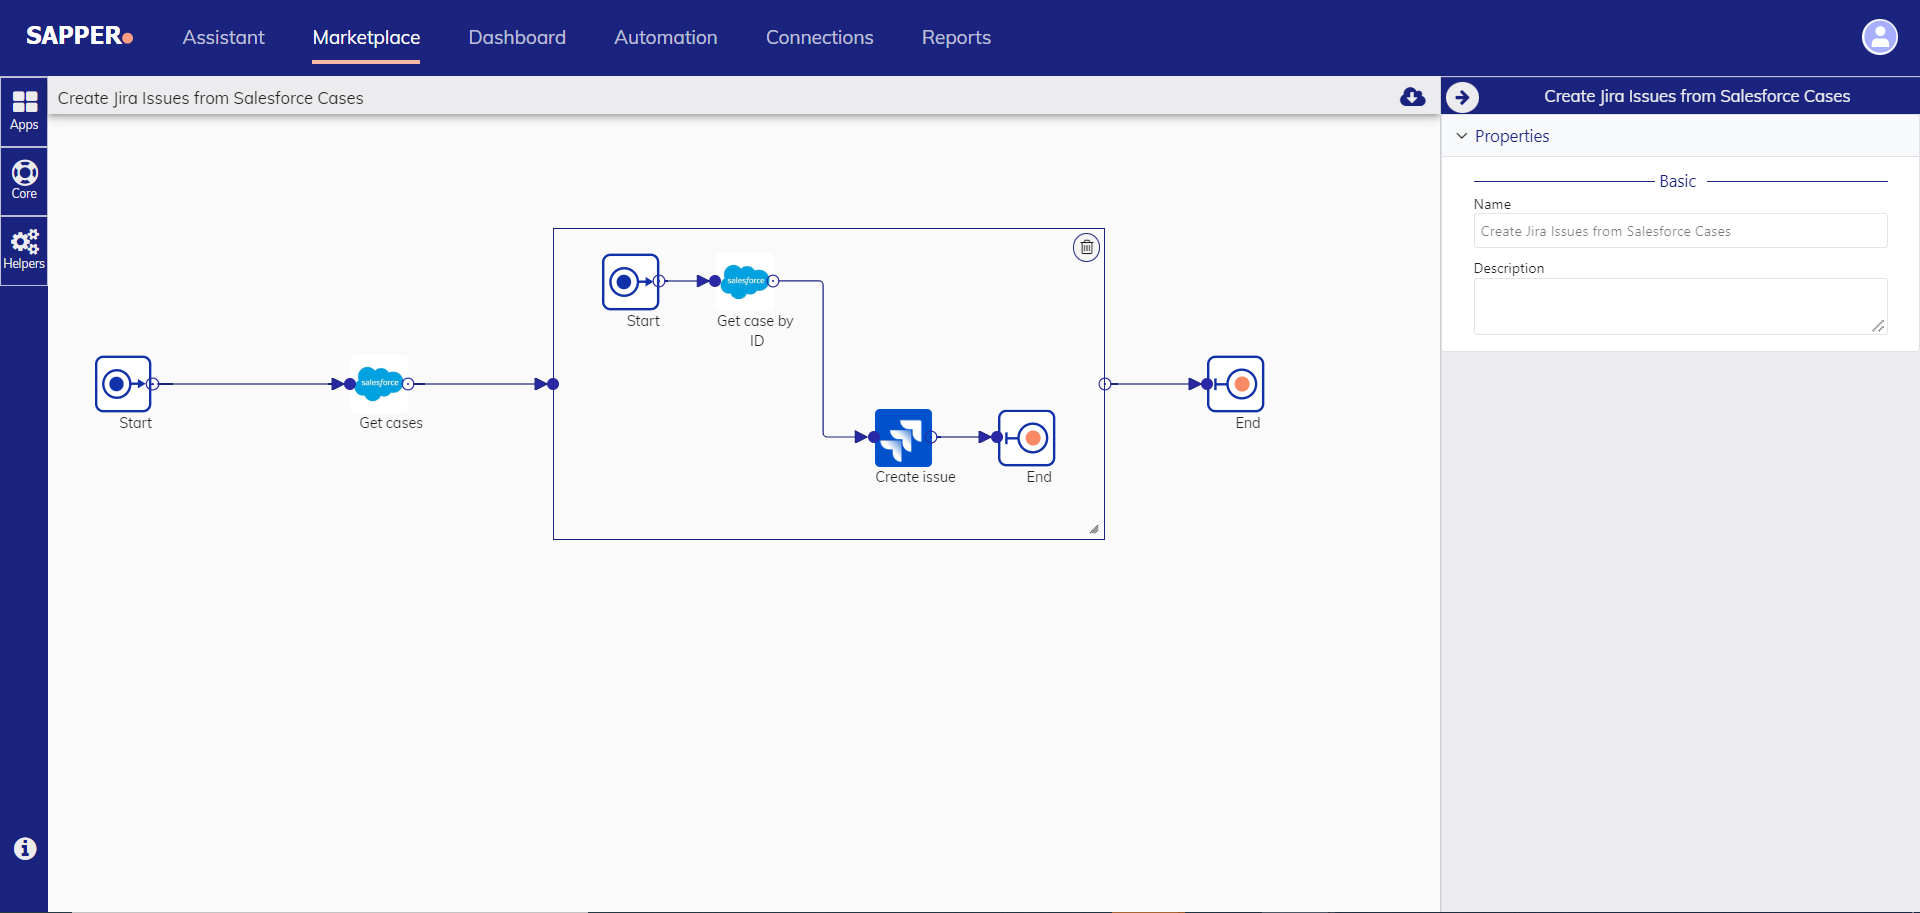
10. After pairing with the applications, you will be able to find out the existing automationfor the specific application. For example., Jira and Salesforce.
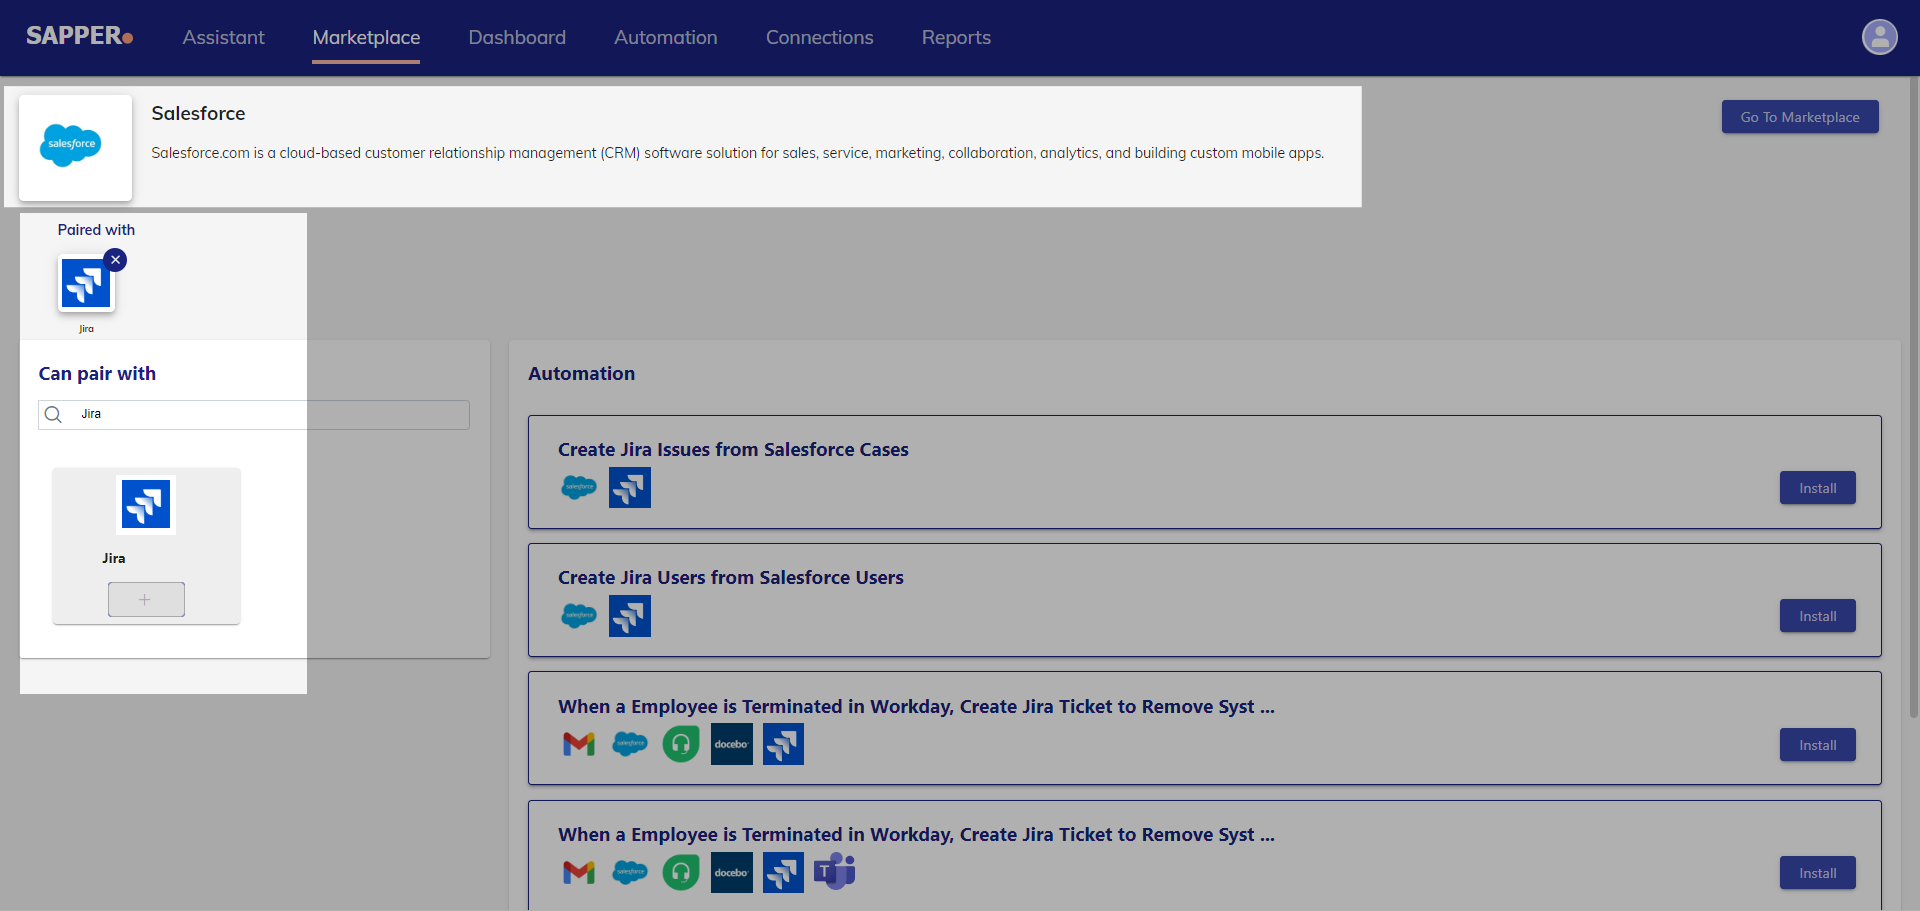
11. In theautomation section, you can find out the existing automation or cases by clicking on the links.
12. Once you click on the particular existing automation link you will be redirected to the automation environment page, from where you can view the automation appropriately.
Steps to use Ready-to-use-Templates
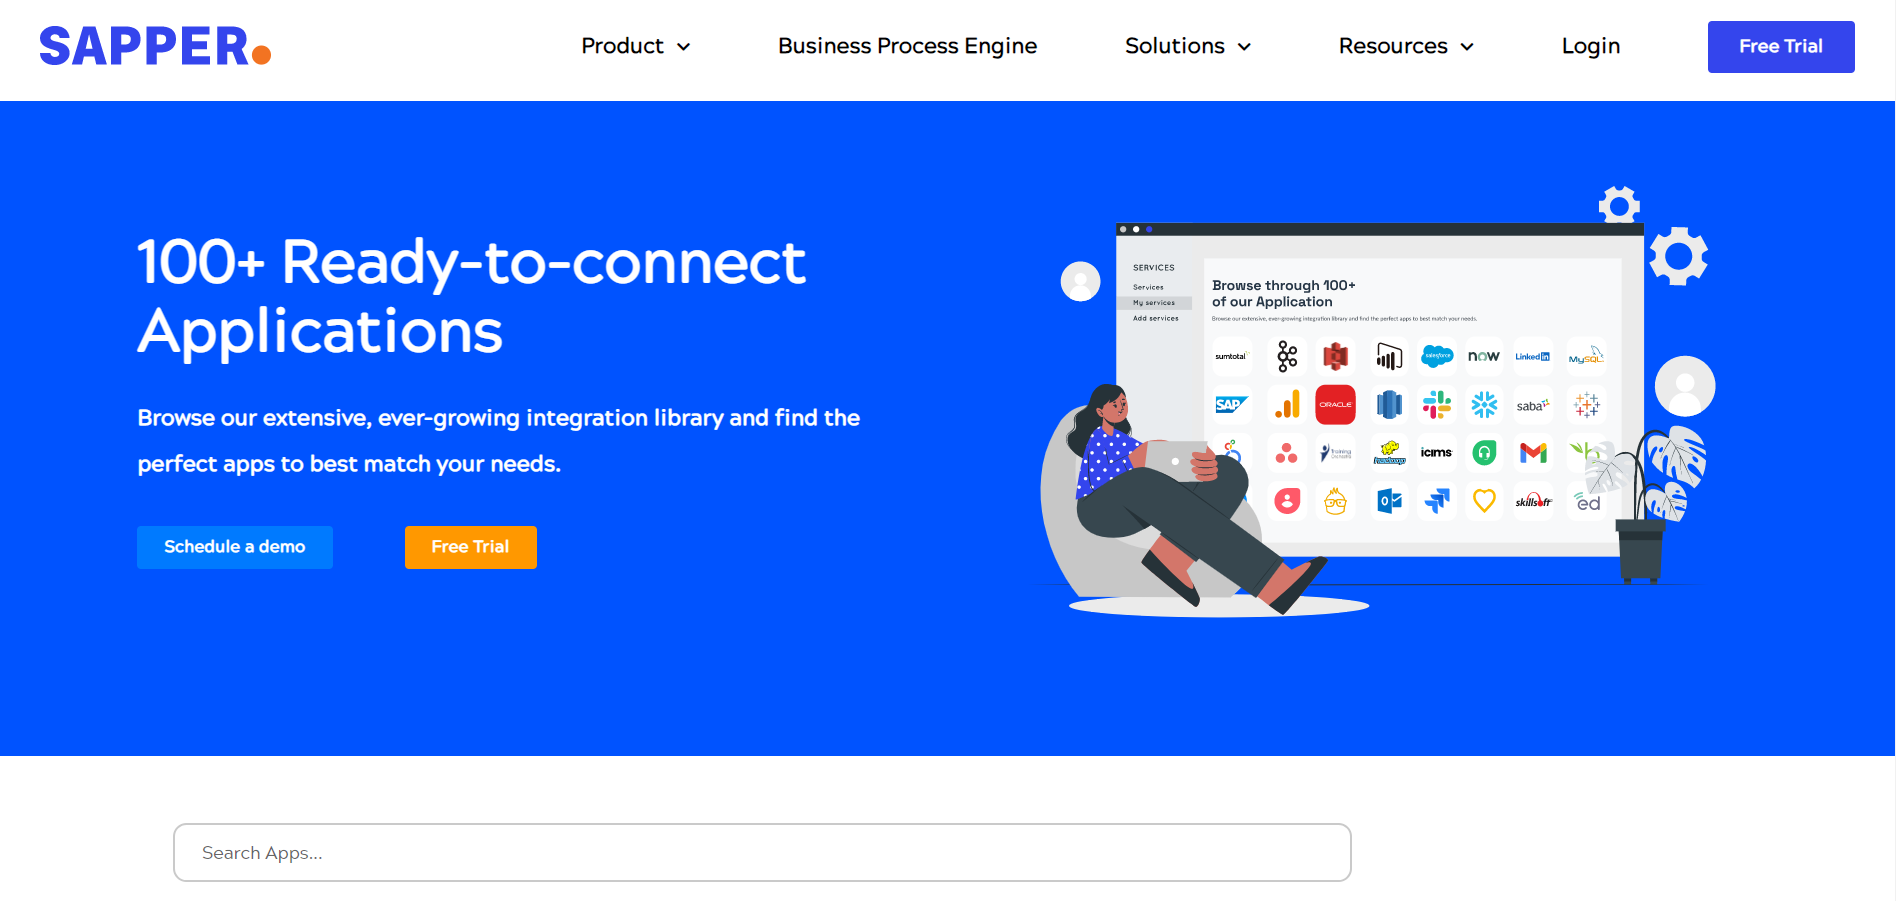
To used the ready-to-use-templates associated with Native apps, you need to open the Sapper marketplace from our website.
2. Now click on the “Explore more apps” and you will be redirect to the Sapper ready-to-use- template page.
3. Now, you need to select the application from the “Marketplace”, For example, Freshdesk .
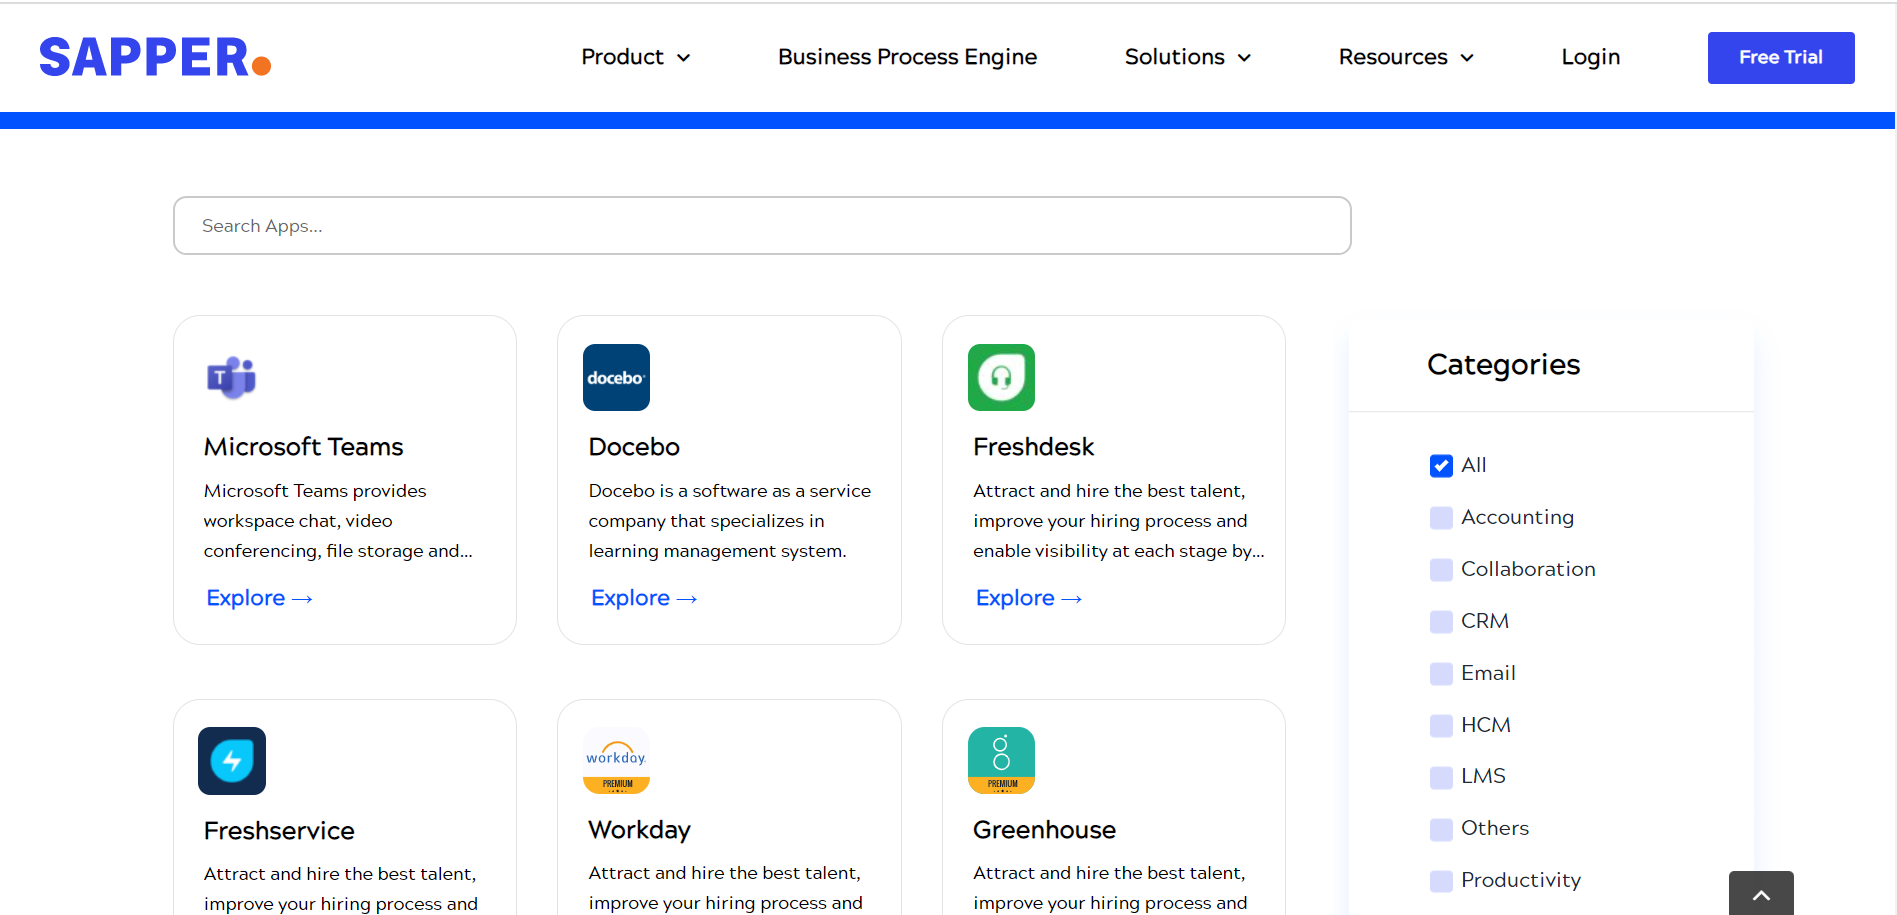
4. You can also search for the particular apps from the “Search apps” option.
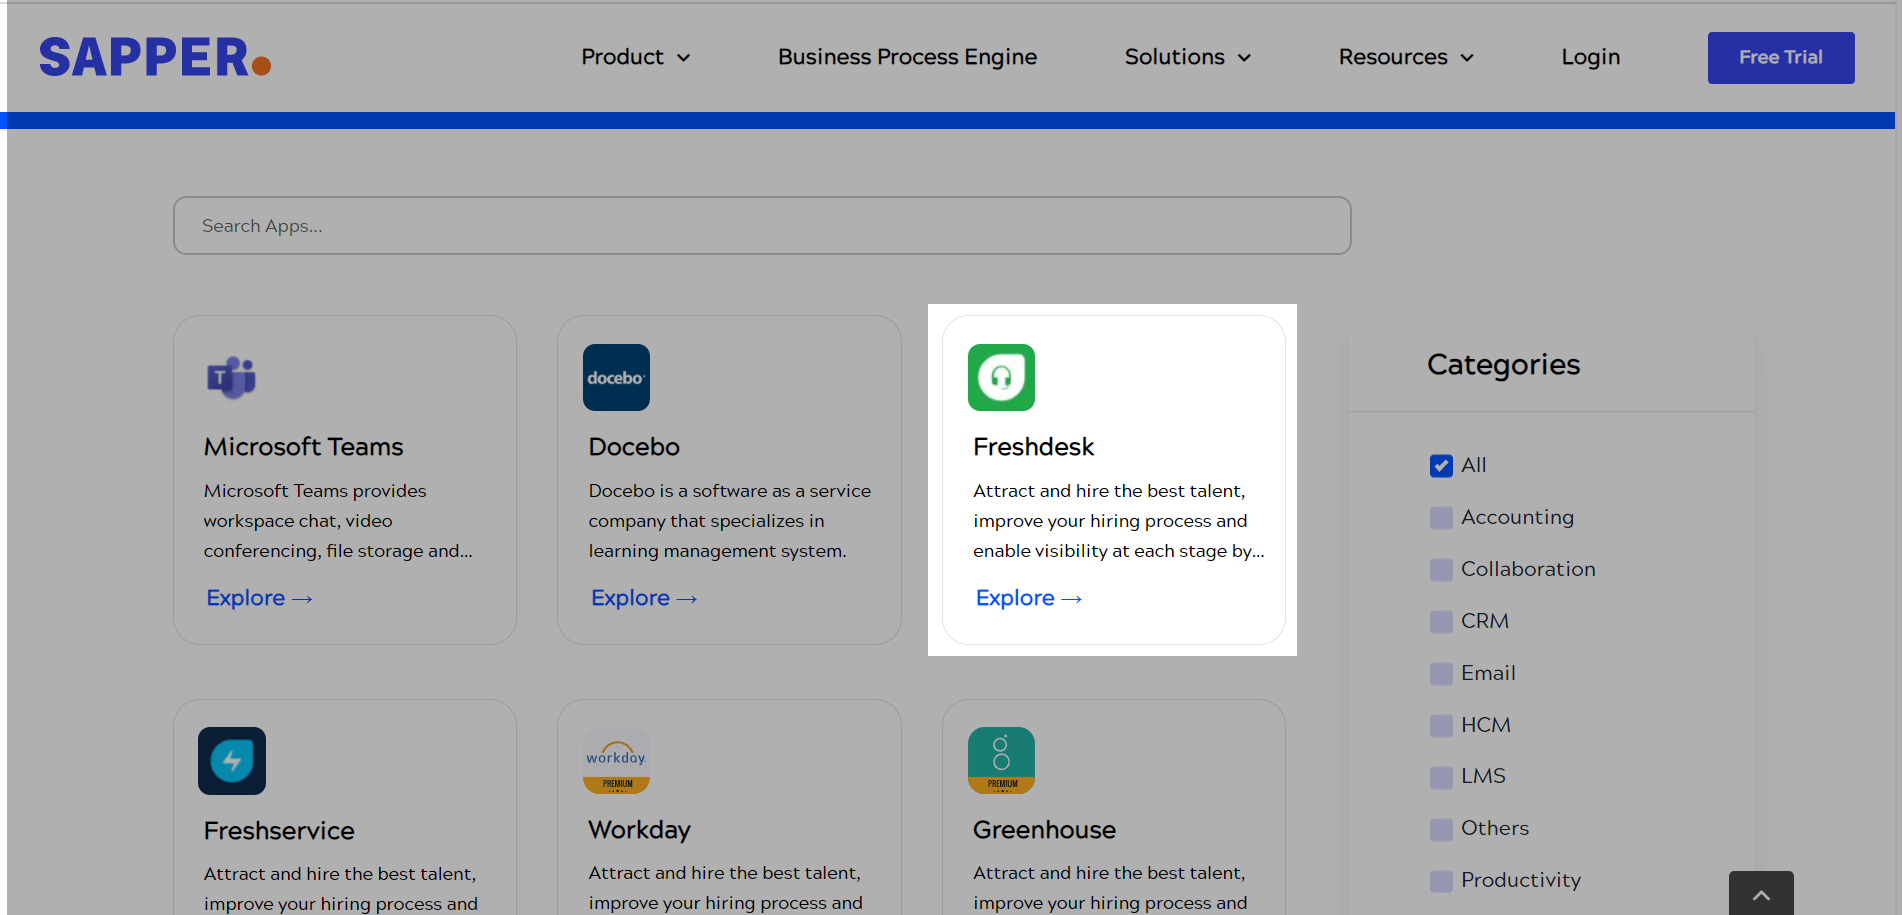
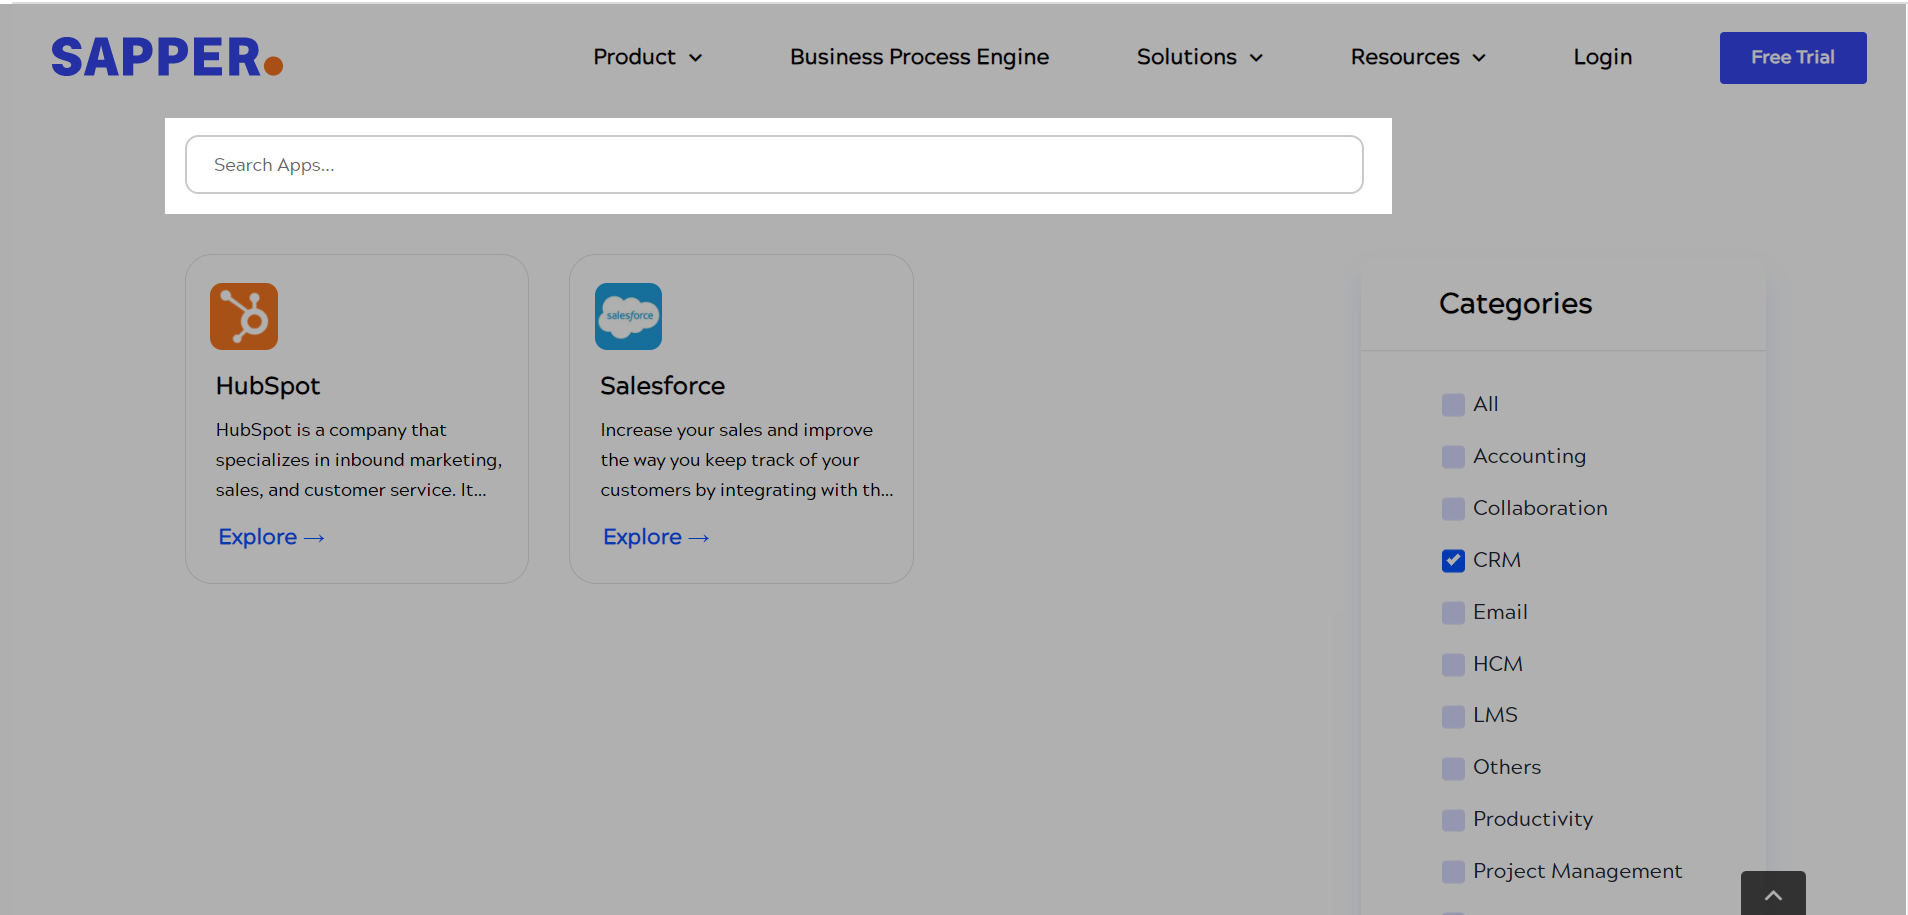
5. If you want to get the apps based on a specific categories such as Accounting, CRM, LMS, Productivity and more. Then you need to select it from the categories and the apps will be visible on the screen. For example, here we have choose CRM and the two apps,( i.e., Salesforce and Hubspot), related to the same has been visible on the marketplace screen.
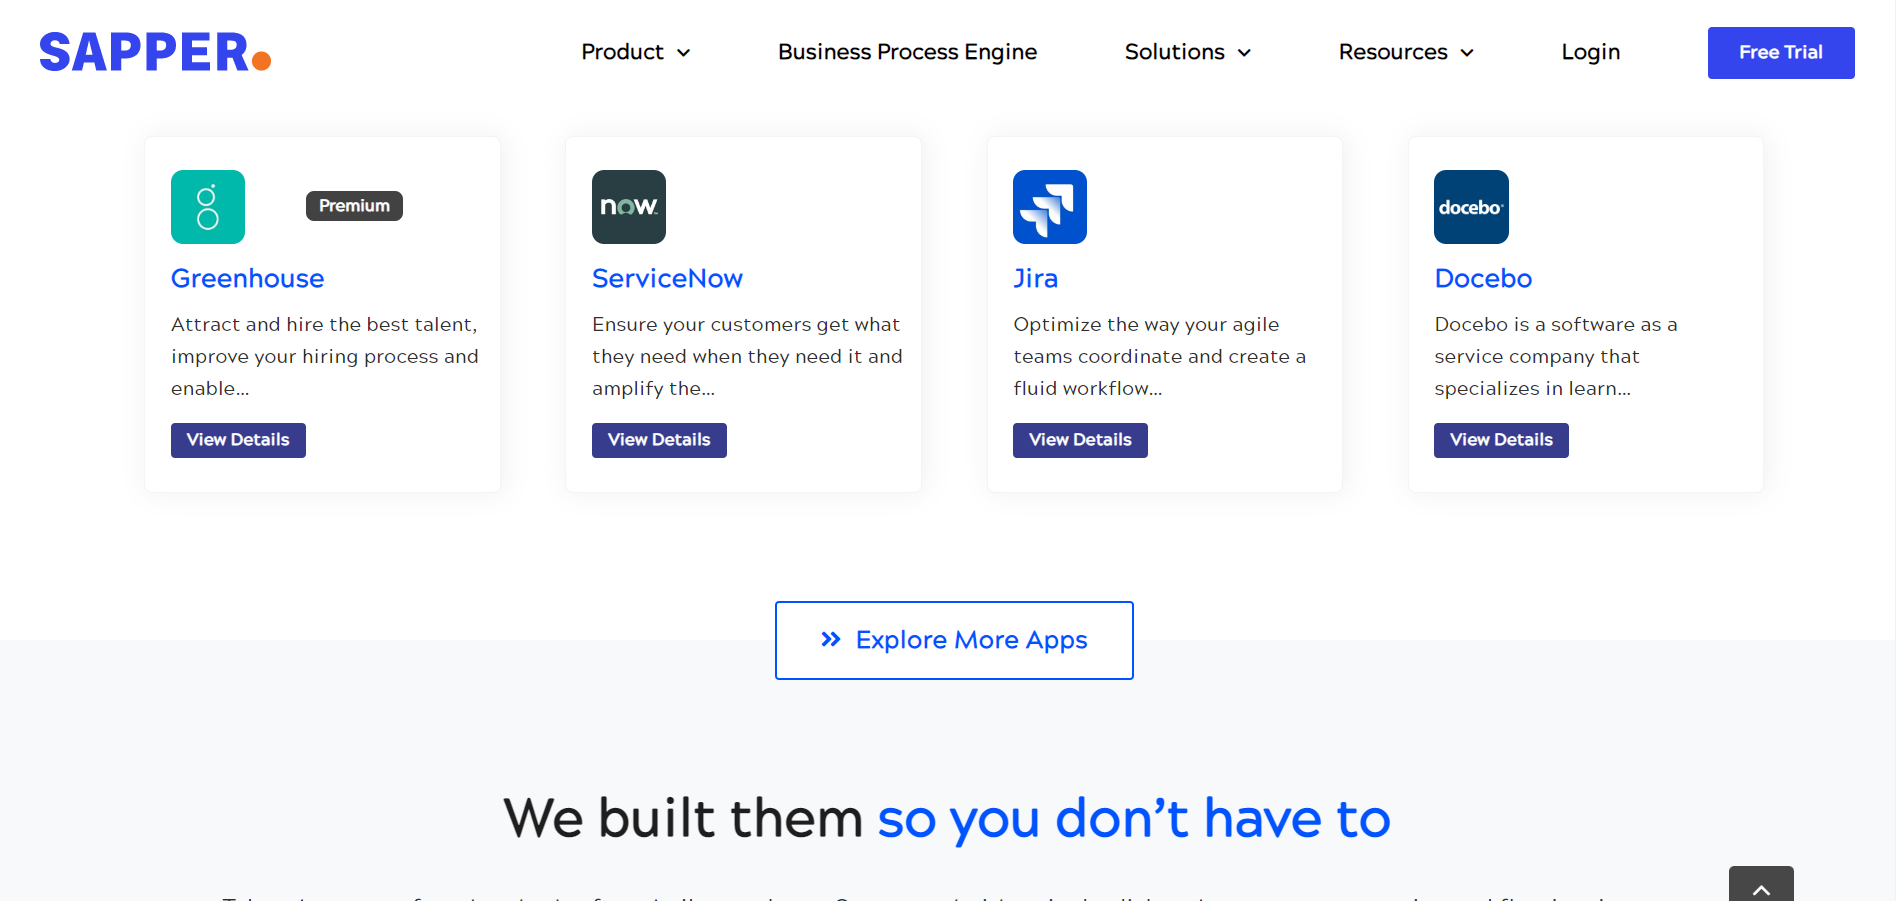
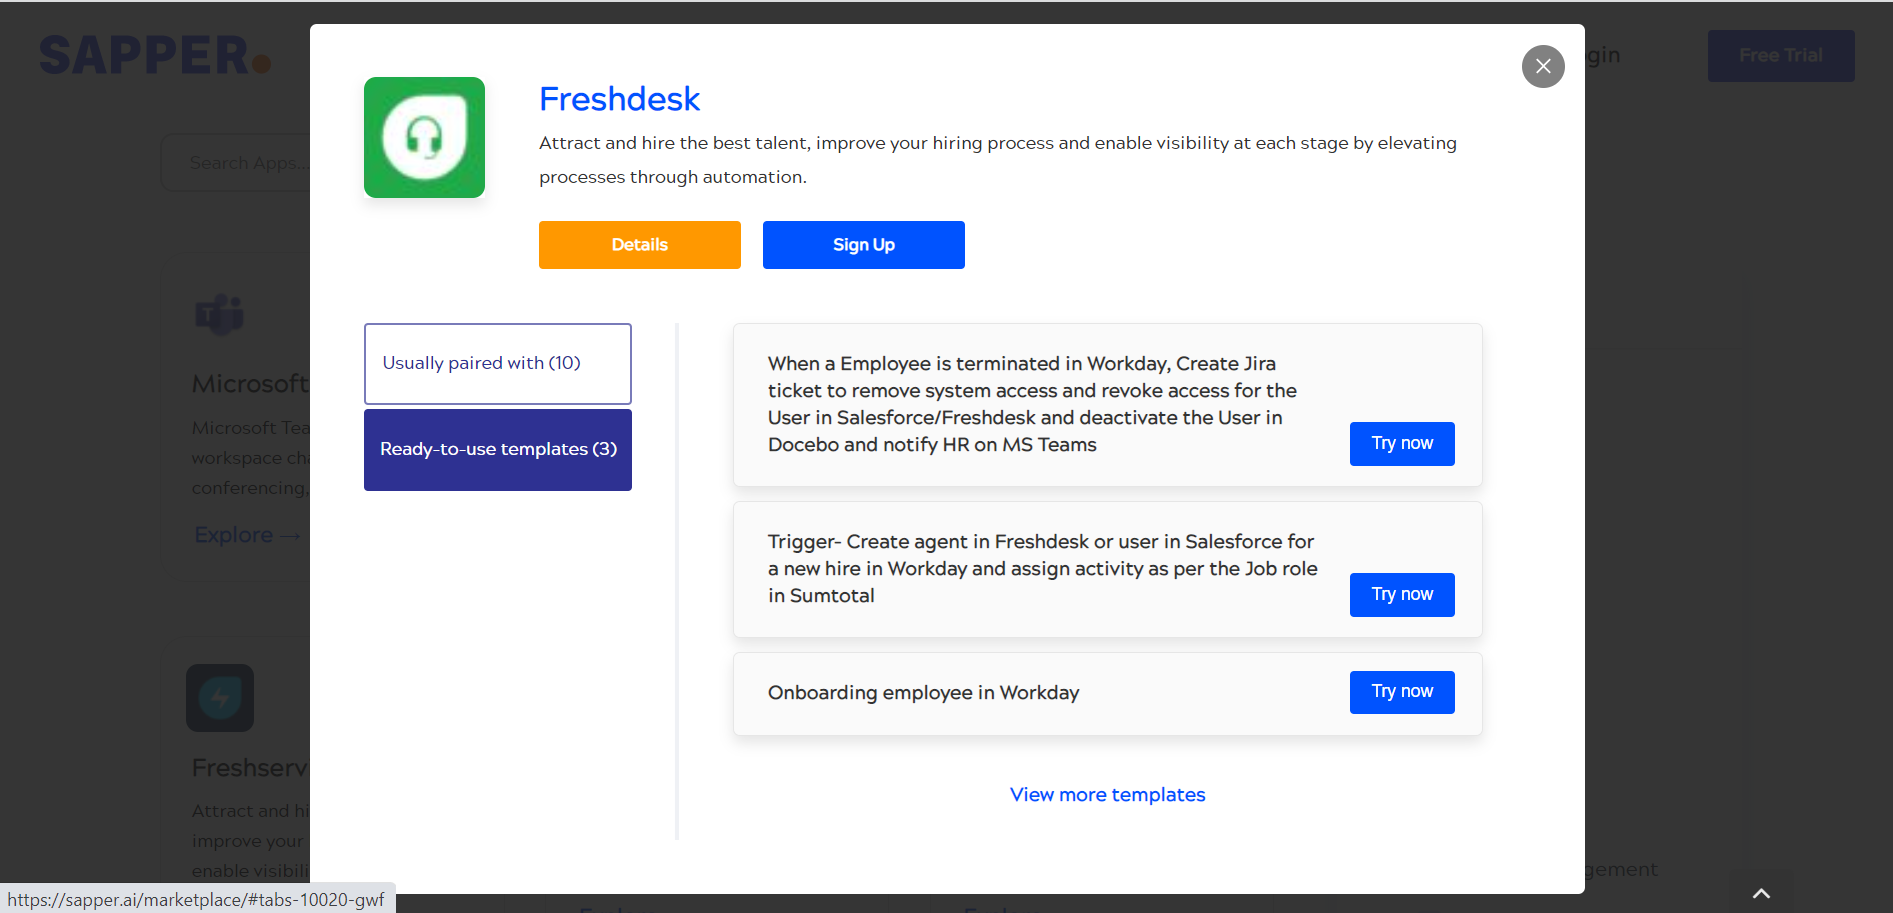
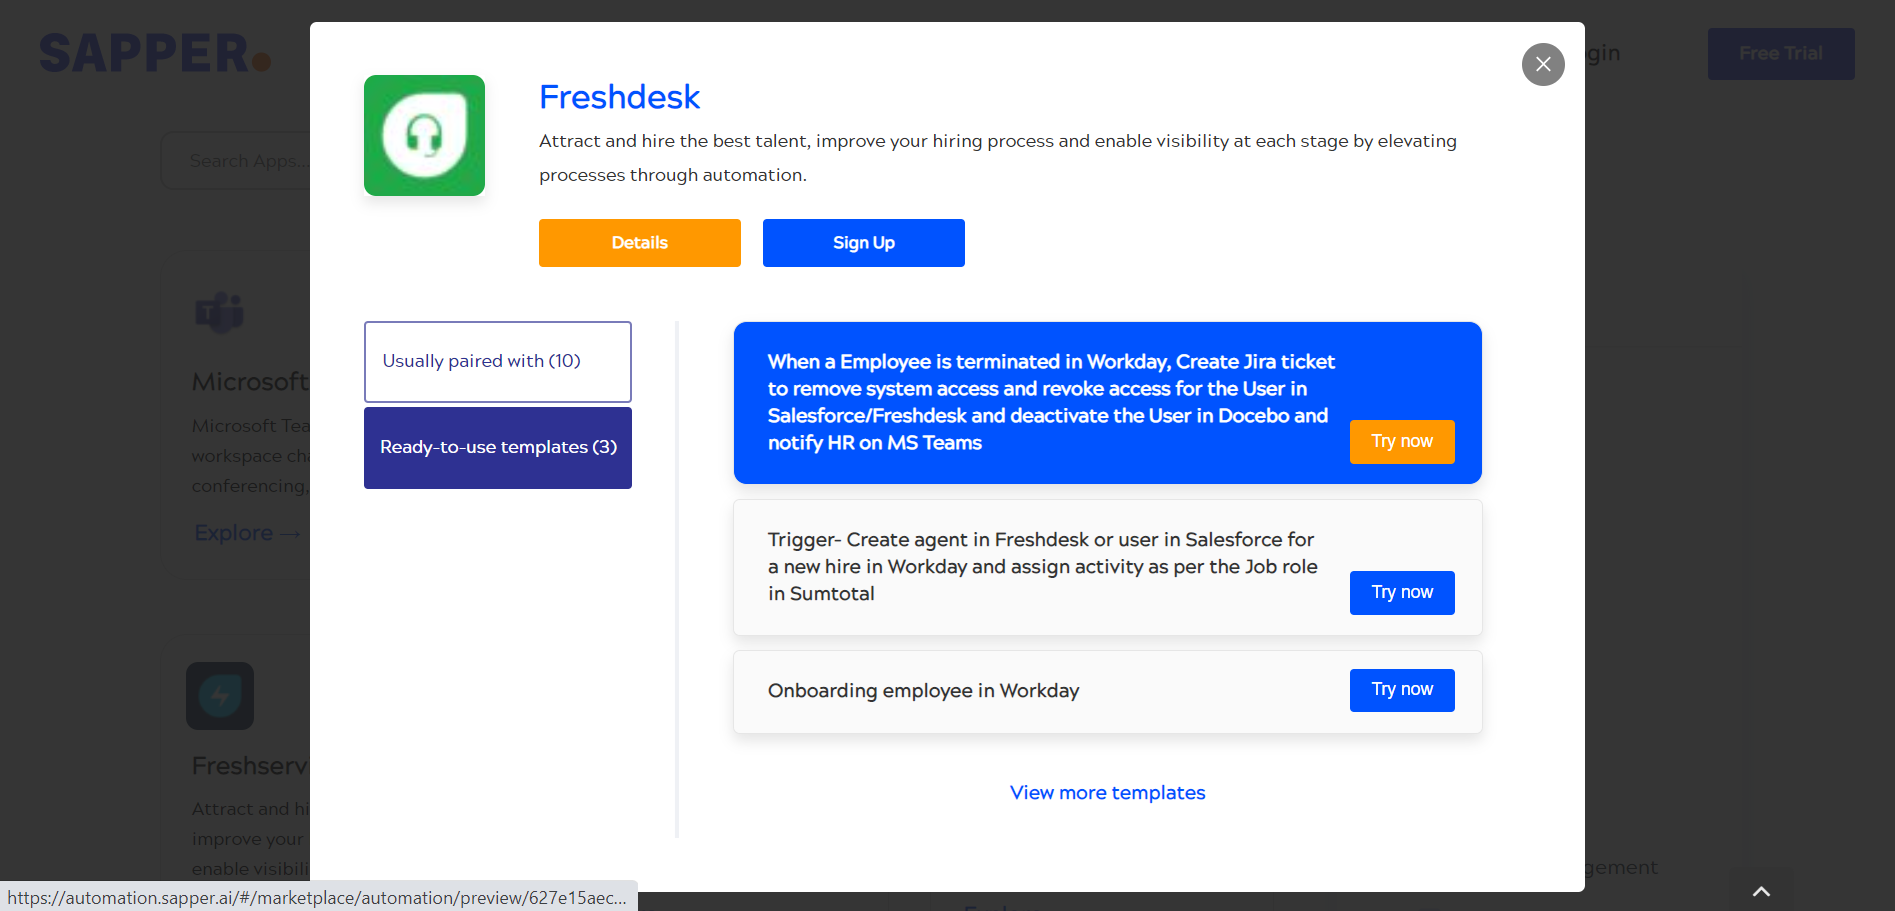
6. Click on explore, and this form will appear on the screen. You can find out the two options i.e, usually paired with and ready-to-use templates.
7. You will be able to view all the paired and Ready-to-use- templates number associated with the particular application. For example Freshdesk.

7. By clicking on the usually paired with option, you can find out the paired applications. The list will appear on the right side of the screen. By exploring the more apps you will be redirect to the all paired application associated with the app. Here we have taken the example of Freshdesk.
8. Click on ready-to-use templates options, for visiting the existing templates.
9. Now, you can view the Ready-to-use-templates by clicking on “Try now”
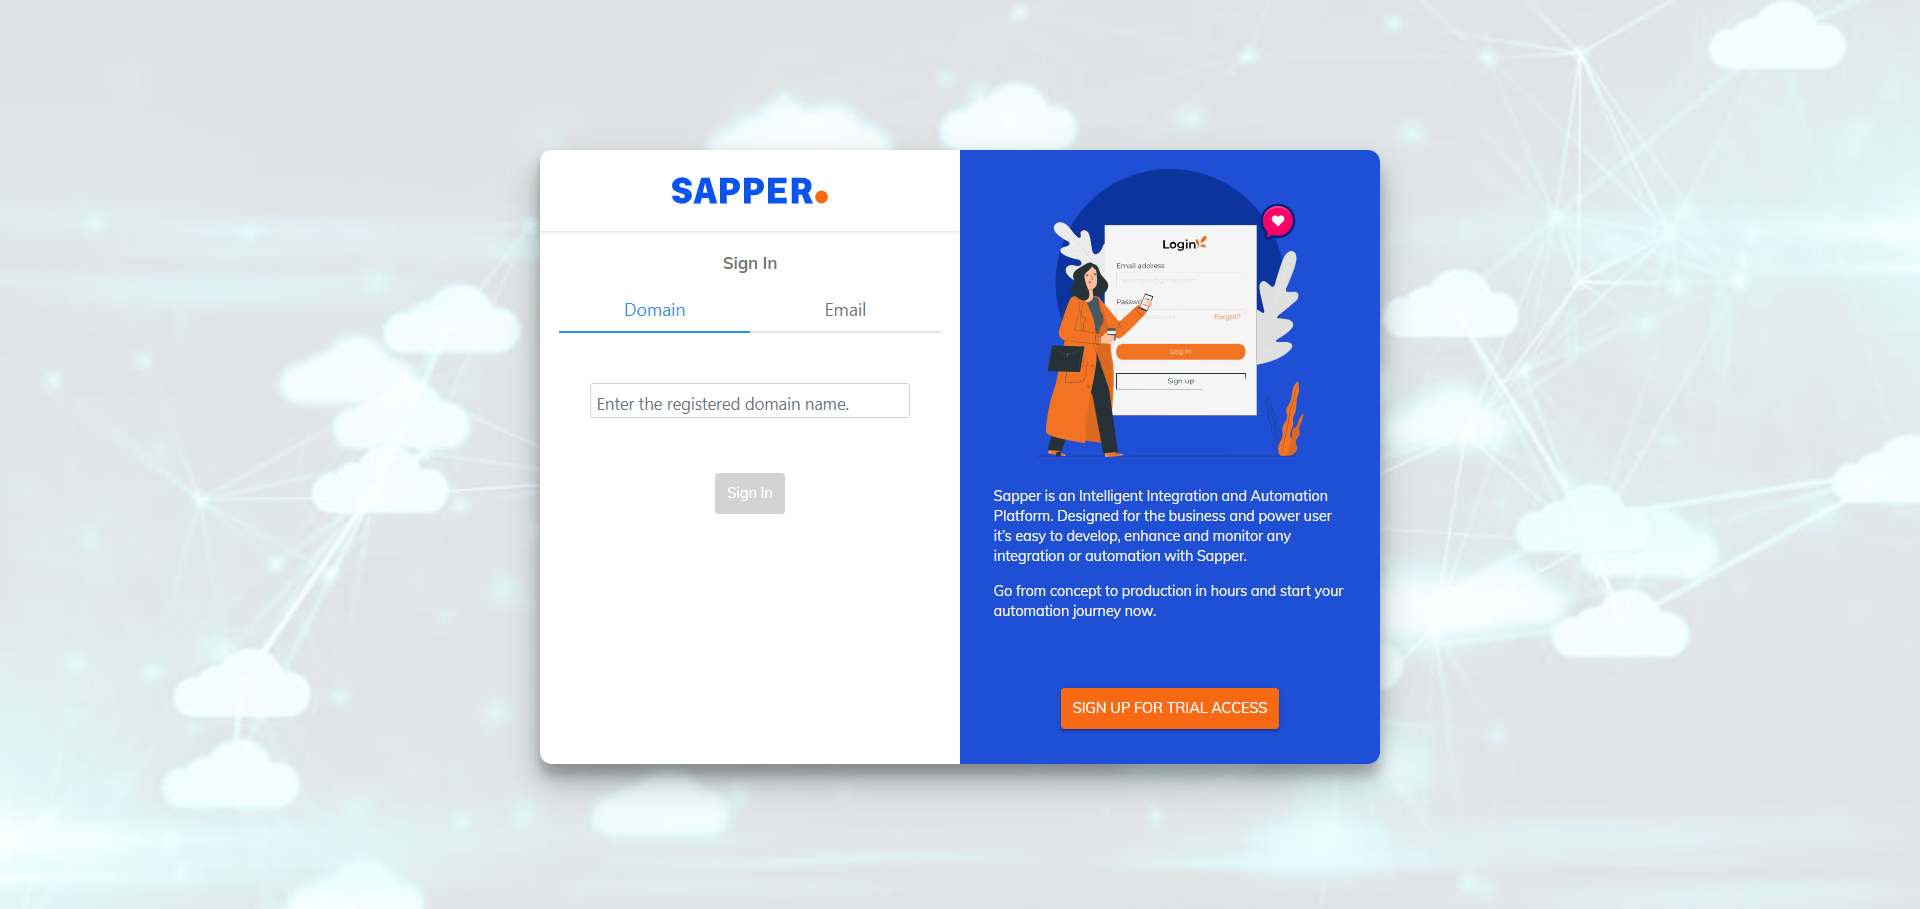
10. Once you click on the “Try now”, you will be redirect to the “Sign In” page.

11. If you choose to sign up you need to click on sign up option, tenant information will be provided to you after fill-up the form. Now you need to repeat the process from step 4 to use the templates.
12. To sign up you need to click on the “Sign up for trial access” from the below field of the “Sign In” page.
13. Once you click on this you will be redirect to the “Sign Up” page
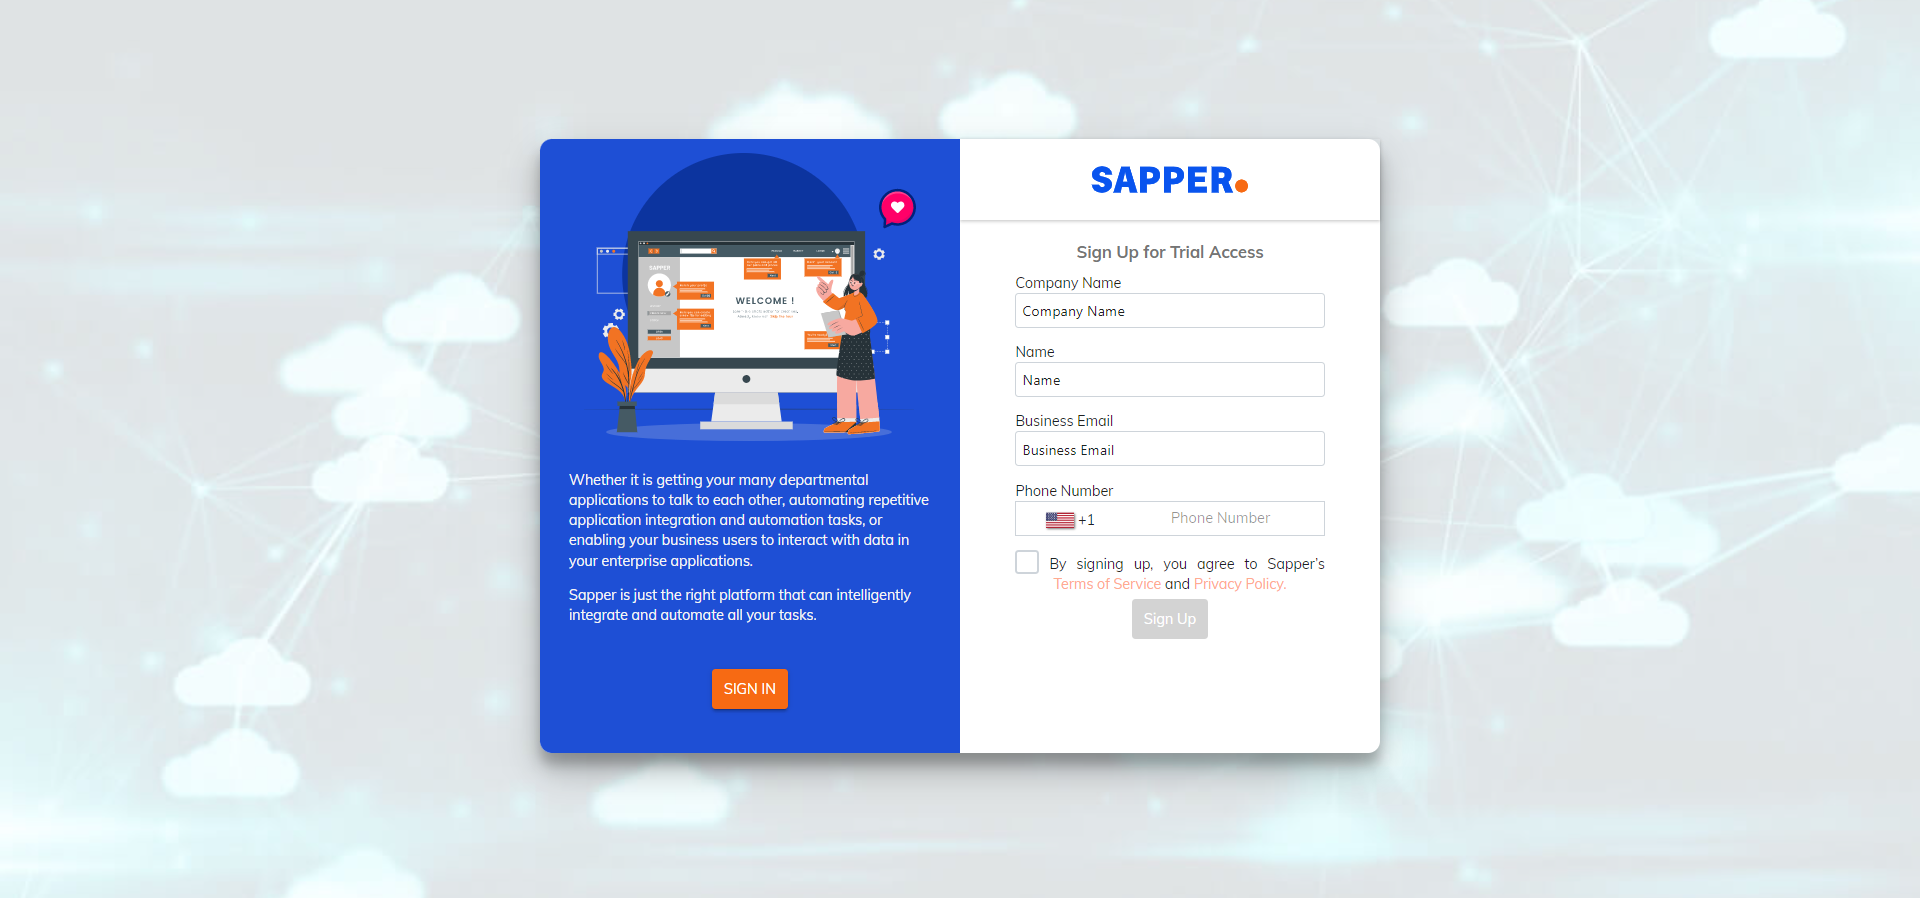
14. Now, follow the 9th and 10th step, and “Sign In” with the details and you will be redirect to the automation.
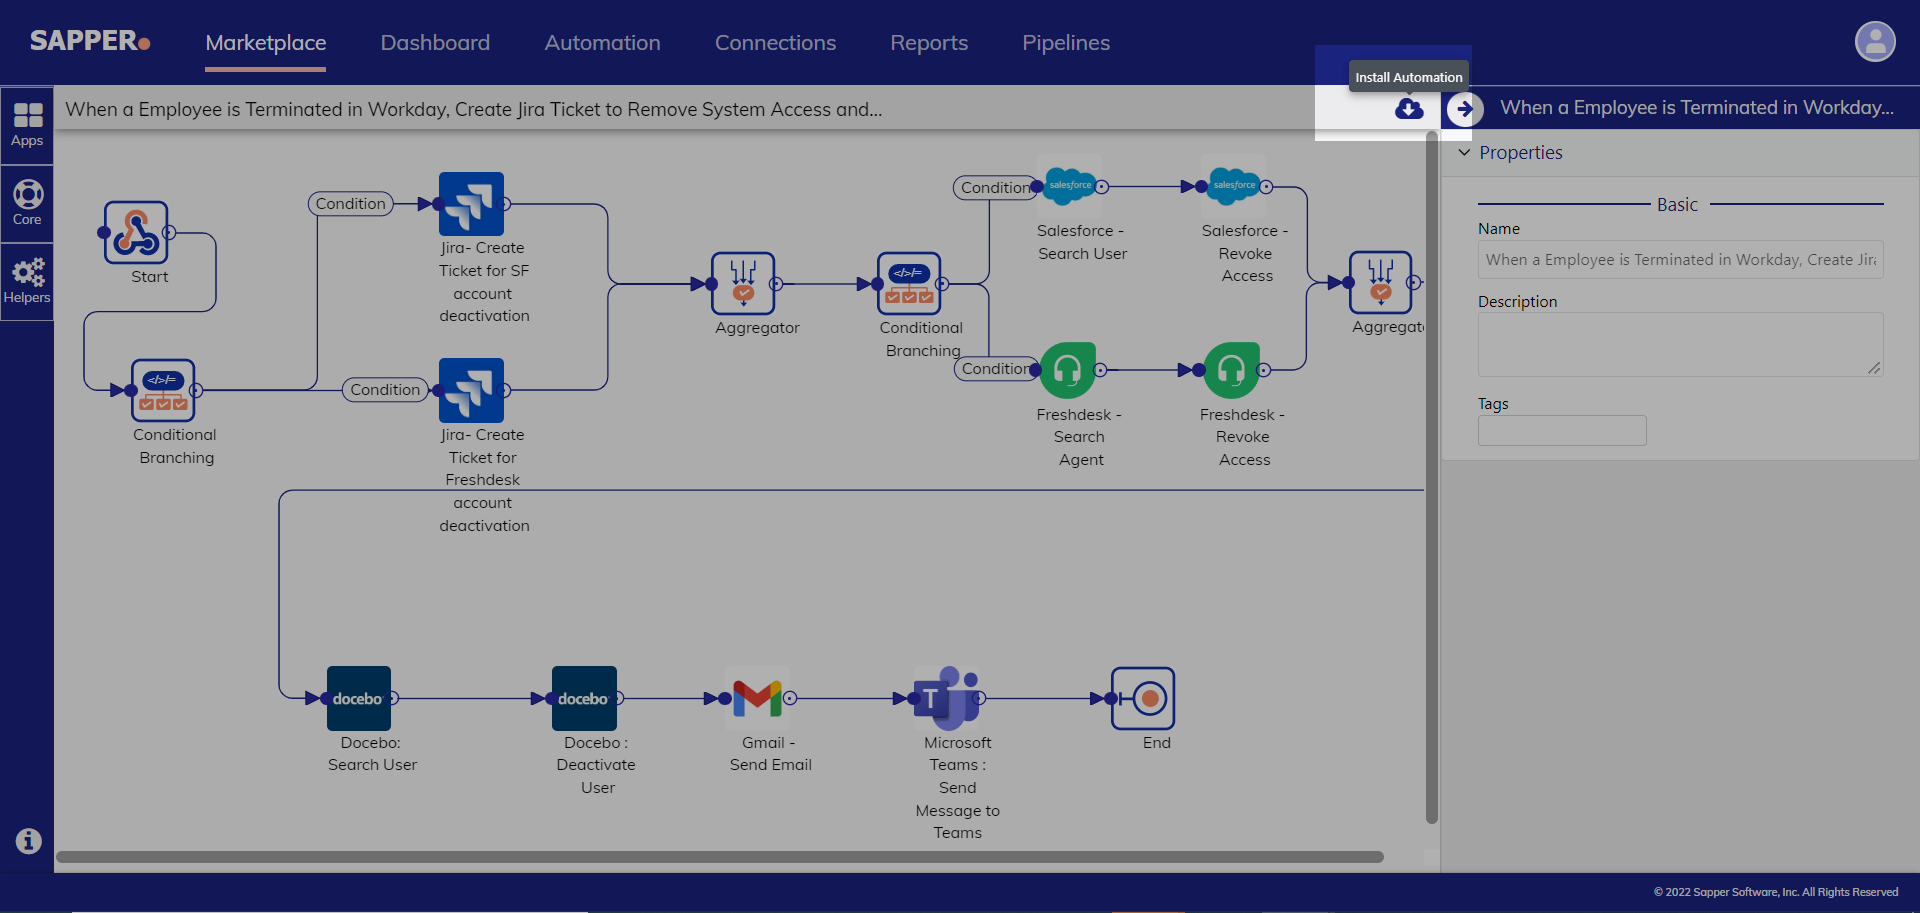
15. After sign in the specific automation page will appear on the screen.
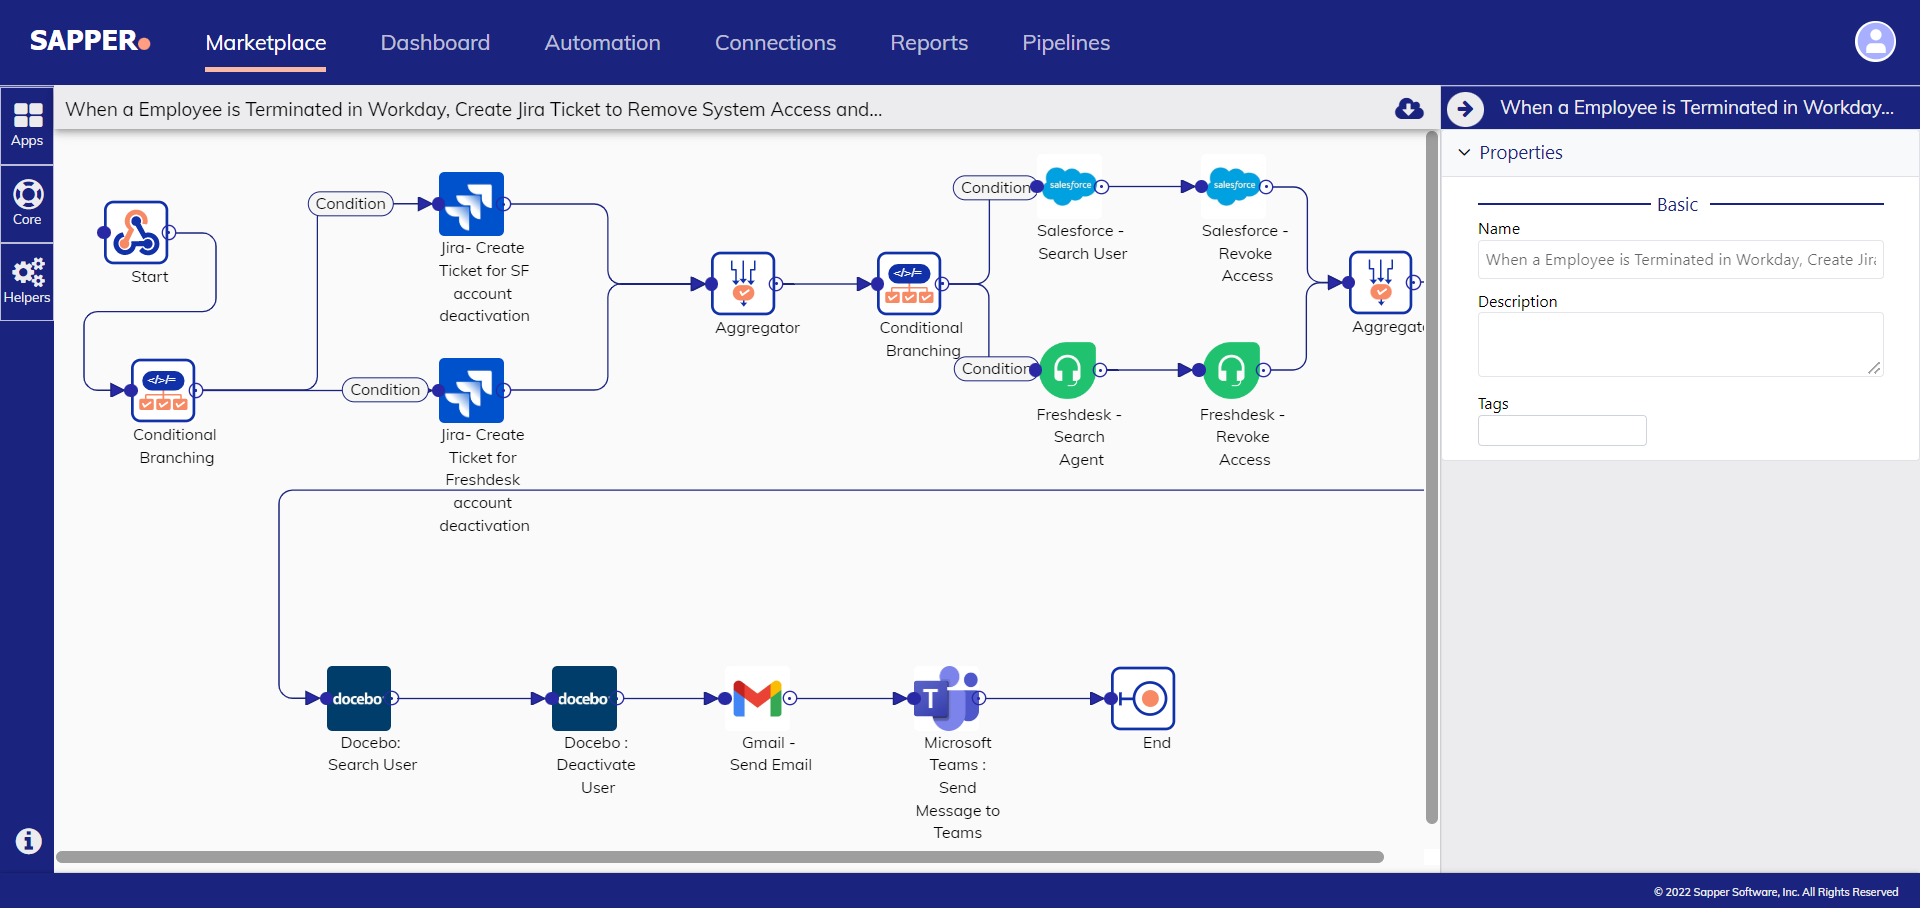
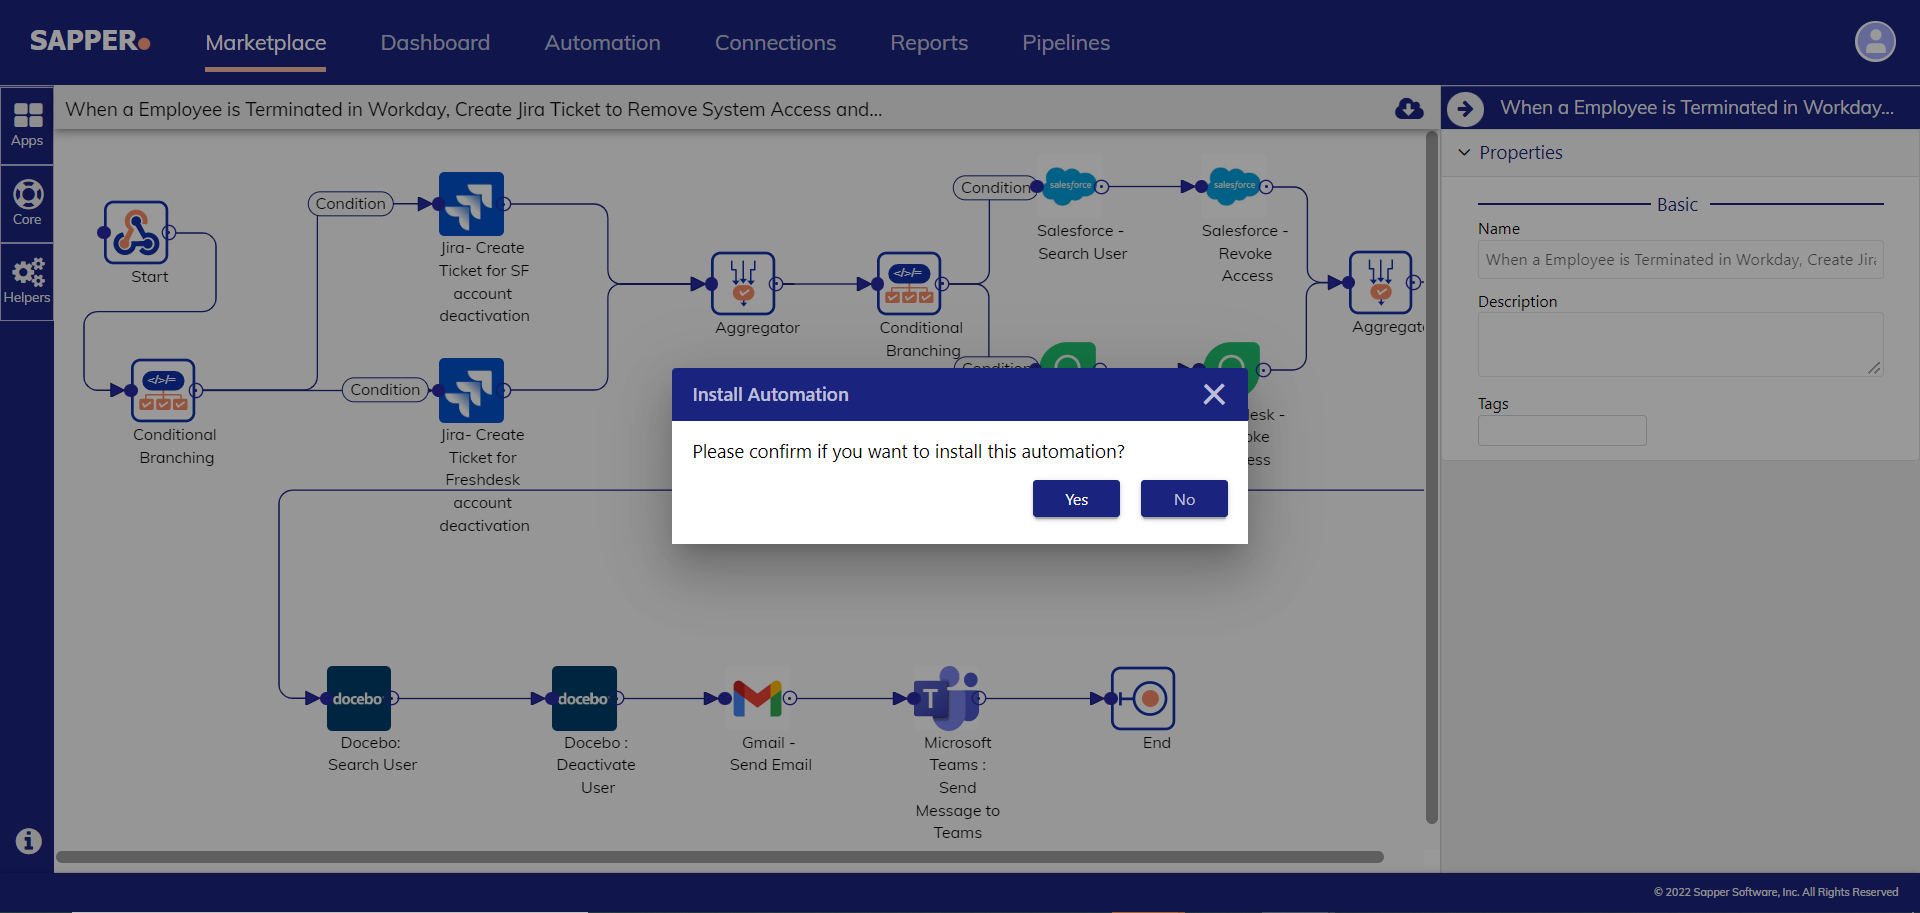
16. If you wish to install the automation, then click on the “Install Automation” from the right side, and a pop-up will appear on the screen.
17. Click on yes to download it, and then you can start configuring your new automation.
Custom Action
How to configure Custom Action ?
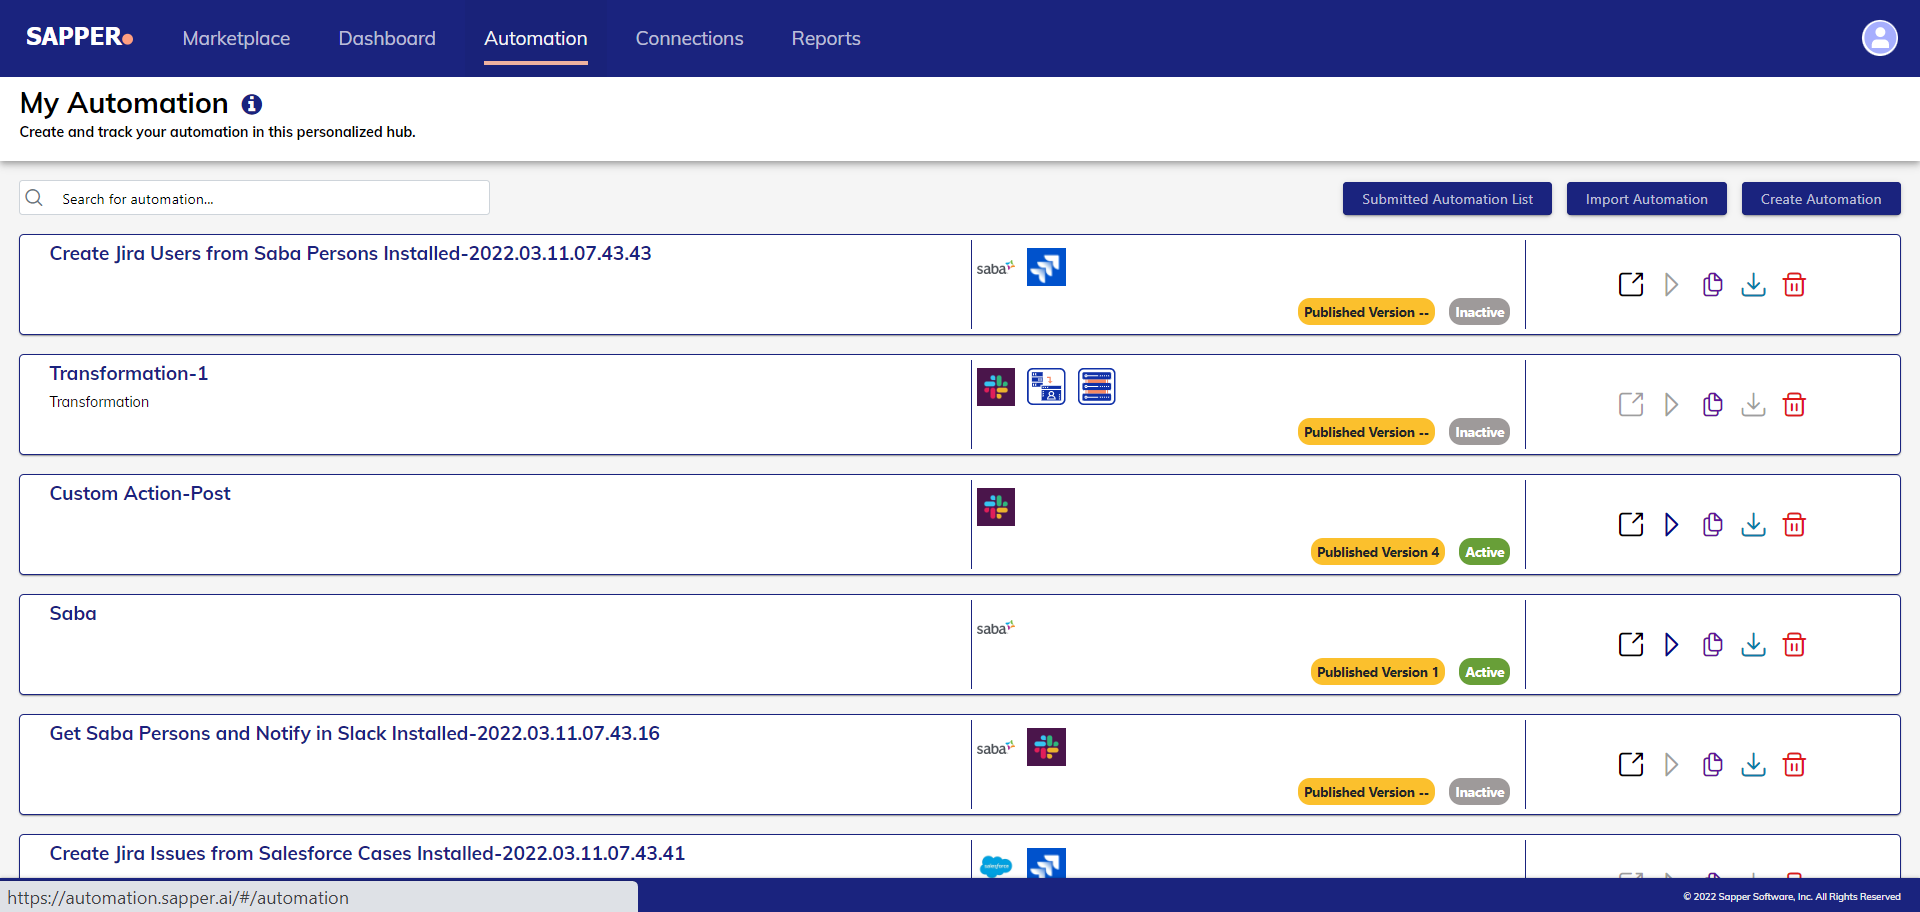
Click on the “Automation” tab from the Sapper home page.
2. Choose the desired automation from the list of automation.
3. Now, open or create the automation for conducting the further process.
4. Drag and drop the desired Native app, you wish to work upon. Here we have choose Salesforce.

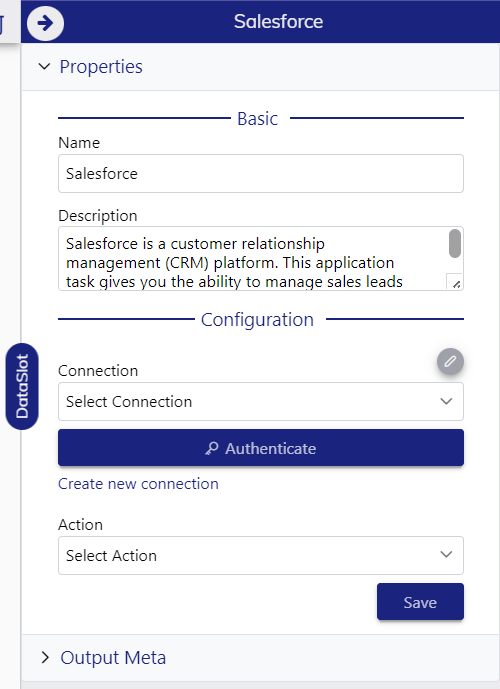
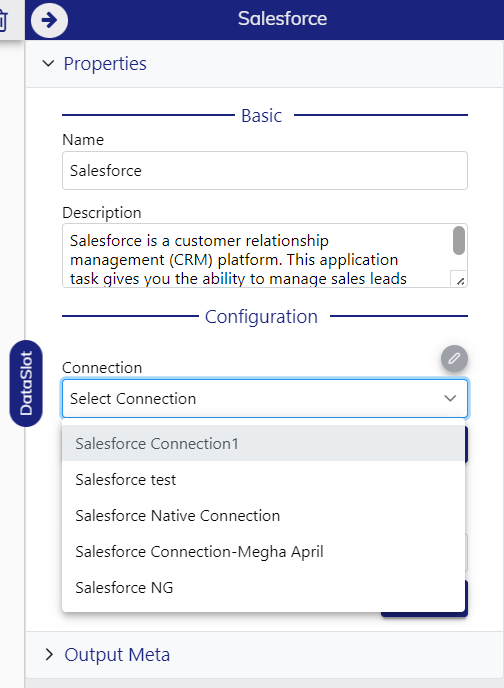
5. Now, select “Connections” for the chosen Native app, i.e., Salesforce.

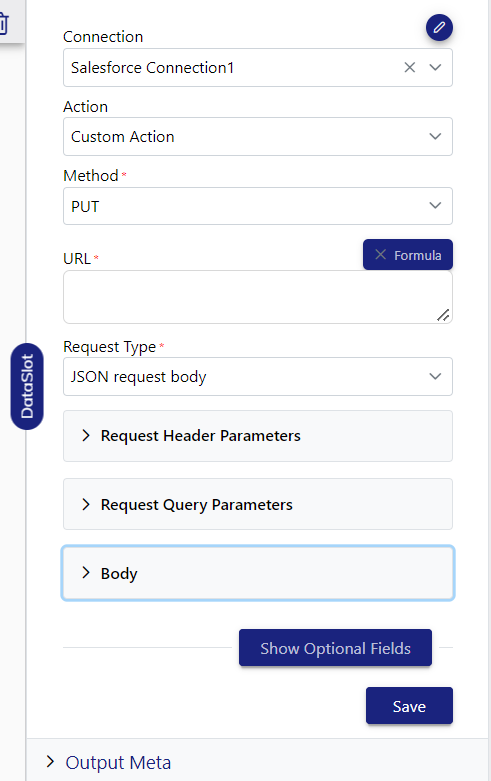
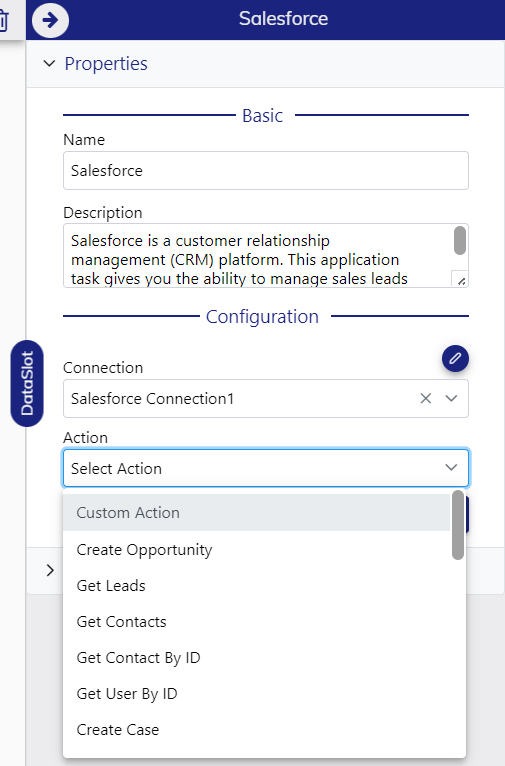
6. Select the custom action option from the “Action” drop-down menu.

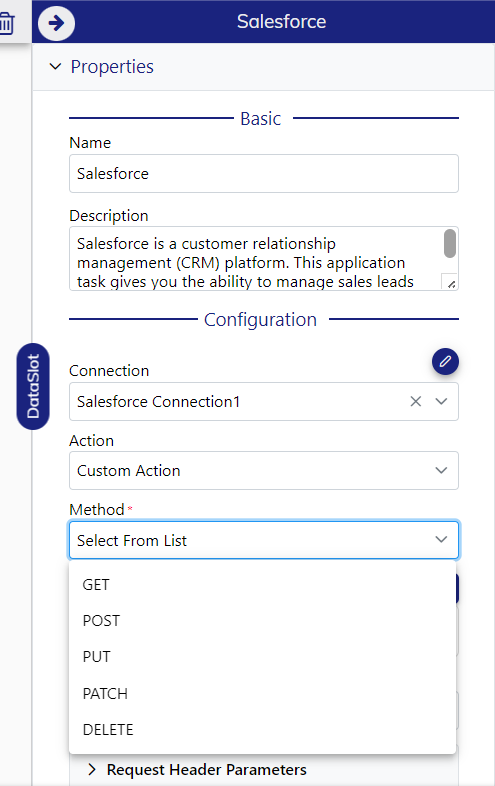
7. Select the required “Method”, from the list of

| Panel | ||||||
|---|---|---|---|---|---|---|
| ||||||
Method of Action: GET is used to fetch something from the server POST helps to create something on the server PUT helps to update something on the server DELETE is to delete something from the server |
8. Provide the API URL for the action to be performed. For API URLs refer to the API documentation of the selected application which you can get from the application website.

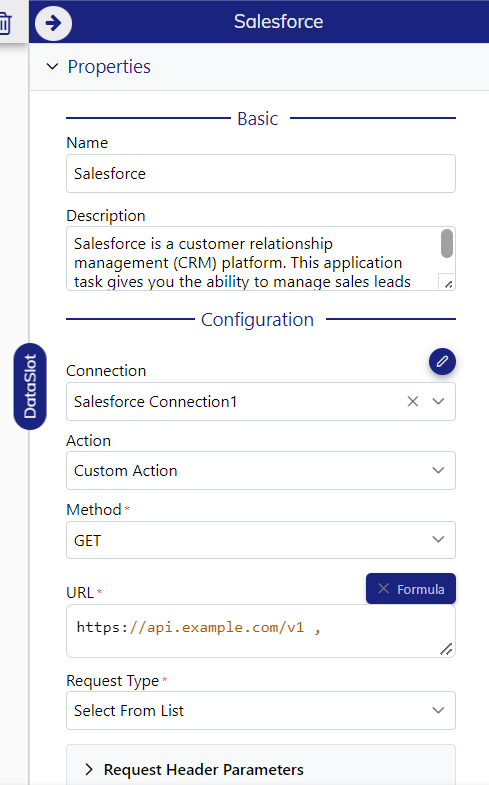
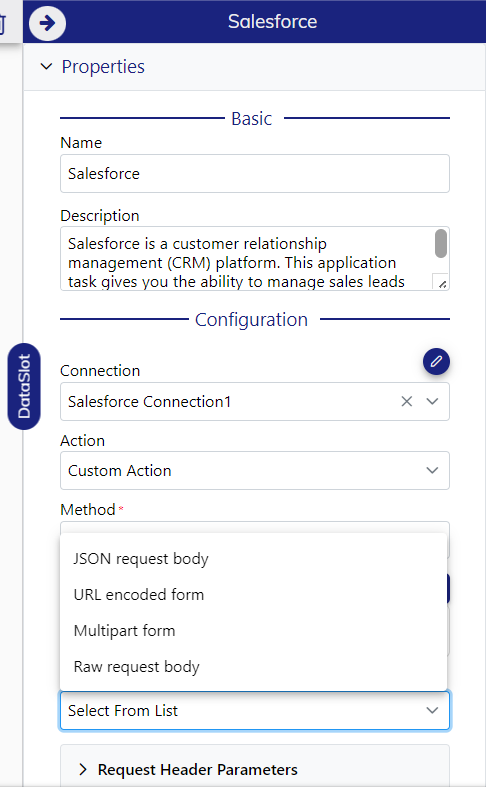
9. Now, select the appropriate request type. A request type is the type of request sent by the requester such as an incident or request for any information.
10. To create the custom action, there is 4 request type, i.e., JSON request body, URL encoded form, multipart form, and raw request body.

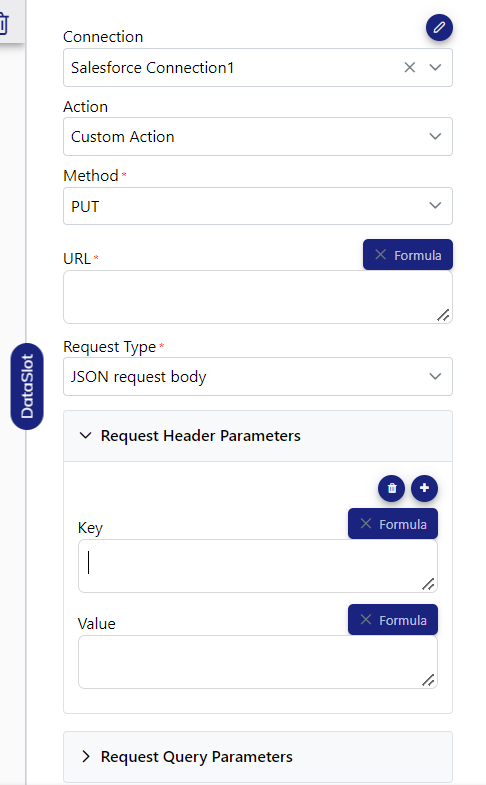
11. Add the “Request Header” as per the requirement. A request header is an HTTP header that can be used in an HTTP request to provide information about the request context, so that the server can tailor the response.
12. To add this you need to click on the “Request Header Parameters” drop-down, and you will get a option for “Add Request Header Parameters”


13. Once you click on the “Add Request Header Parameters”, you will get the 2 option field i.e., Key and Value.
14. You can add the required key and value based on the request header parameters.

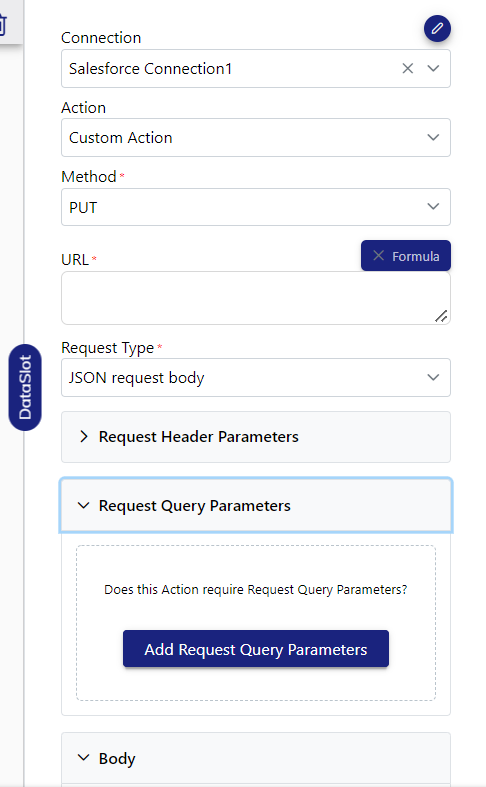
15. On the other hand, “Request Query Parameters” are a defined set of parameters attached to the end of a URL. They are extensions of the URL that are used to help define specific content or actions based on the data being passed.
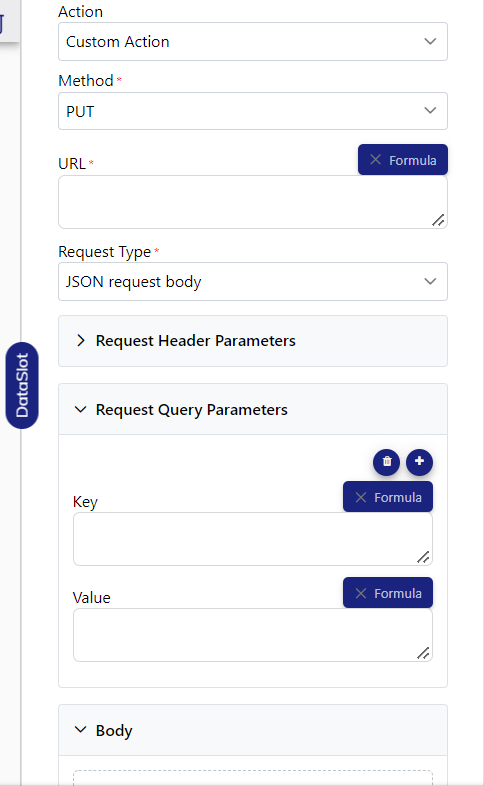
16. To add a “Request Query Parameters”, click on the drop-down and choose “Add Request Query Parameters” to add the required query.

17. Once you click on the “Add Request Header Parameters”, you will get the 2 option field i.e., Key and Value. You can add the required key and value based on the request header parameters.

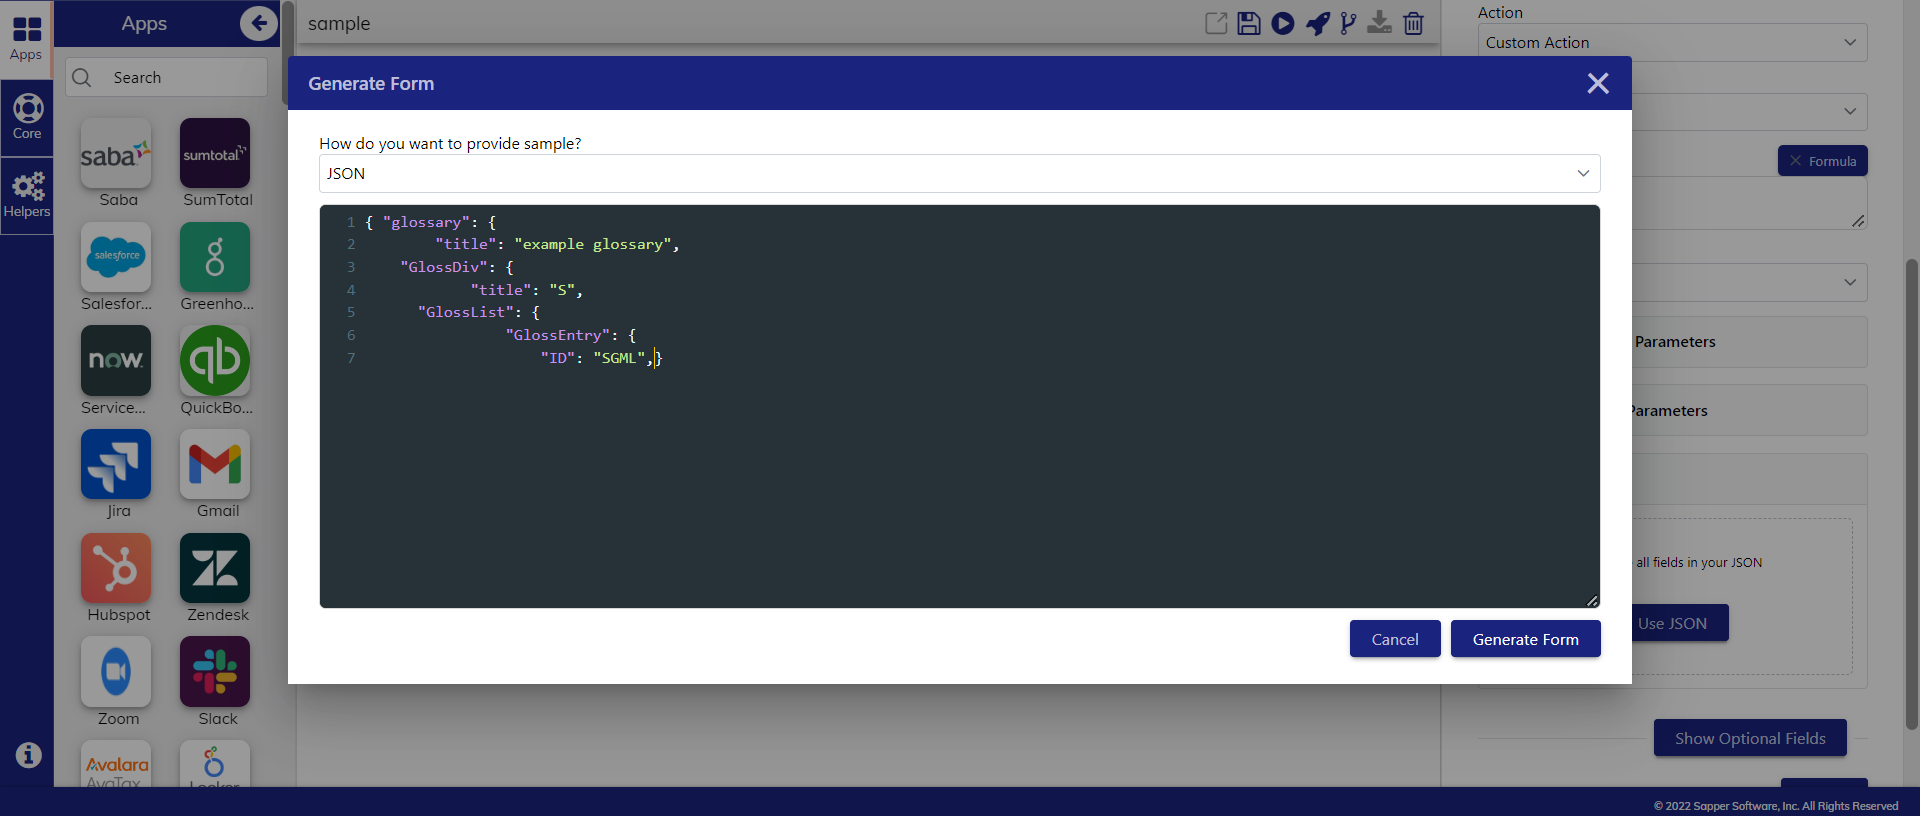
18. From the “Body” field, you will get the “Use JSON” option for adding the JSON request based on your need.

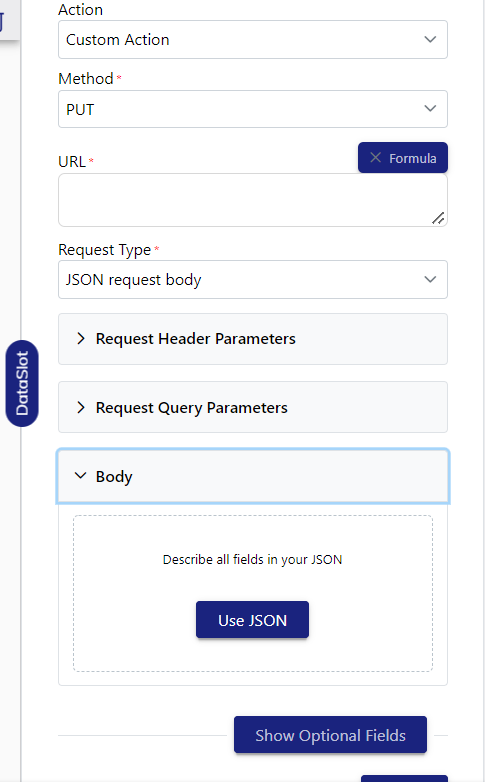
19. Once you click on the “Use JSON” option a form will be generated on the screen, here you can add the JSON request based on you requirements.
20. Click on “Generate Form” from once you are done with the request.

21. Now, click on save to successfully save the connection.